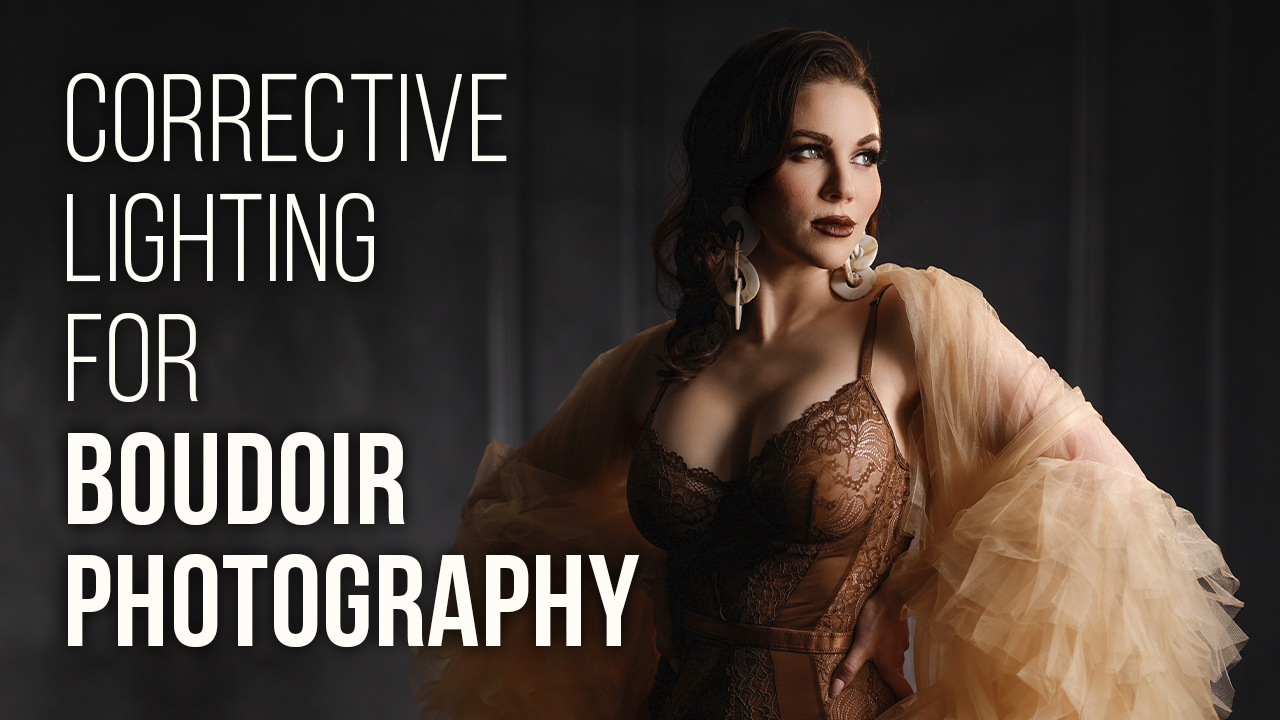
Correct lighting can set your portrait photography apart from others and have your clients falling in love with how they look. In order to do that, as a portrait photographer you need to know how to use corrective posing techniques to make clients look their best on camera. In this photography tutorial video I demonstrate step-by-step processes for using lighting and posing techniques that make clients look their best; perfect for in-studio portraiture; in this example I use Westcott L60Bs with various light modifiers but feel free to use any available source or lighting available to you – in my tutorial video I used Westcott L60Bs but feel free to use whatever suits your lighting you prefer for portrait photography!
Want to learn corrective lighting for your beauty portraits? Let’s get to it.
Hello everyone! My name is Sal Cincotta and today we will cover corrective posing and lighting and focal length for beauty portraits. As a boudoir photographer, our clients want to look their best and this is our responsibility as professionals – both making sure we make decisions that make their skinniest version visible in photographs as well as helping our clients look thinnest at any given moment in the session. Of course this also applies to headshots, wedding portraits – so be sure to follow along to gain these tricks – trust me, when we do this fast enough so you too can do this yourself. We will go over these tips quickly but don’t let go – by paying close attention you will soon enough be doing this yourself as soon as you see us do!
Remember, your eye always gravitates toward the brightest part of an image, so today we’ll use light and shadow to control what our camera sees – making the biggest impactful difference of all. Plus, there will be other tips and tricks we will cover later – but let’s just dive in right now!

Settings: f/2.8 @ 1/160, ISO 400
Settings: f/2.8 @ 1/400, ISO 800
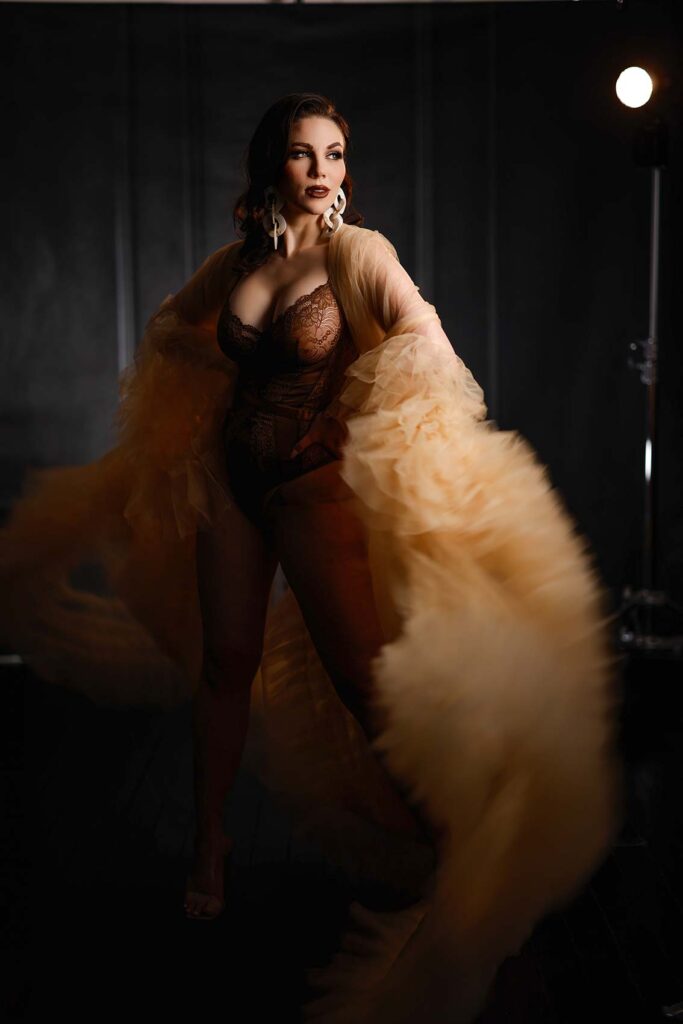
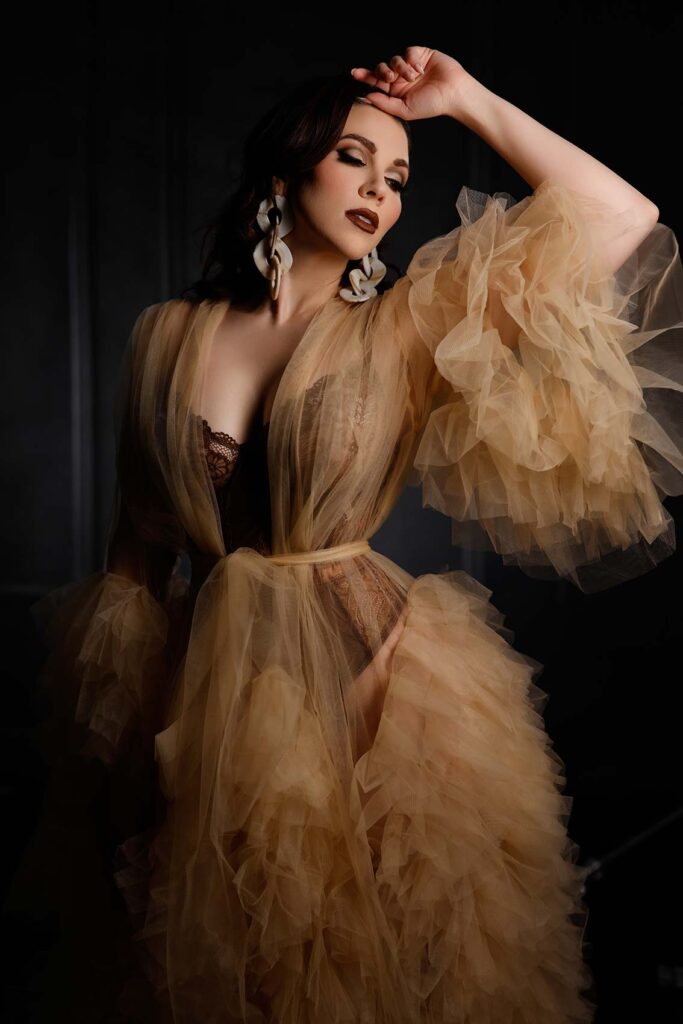
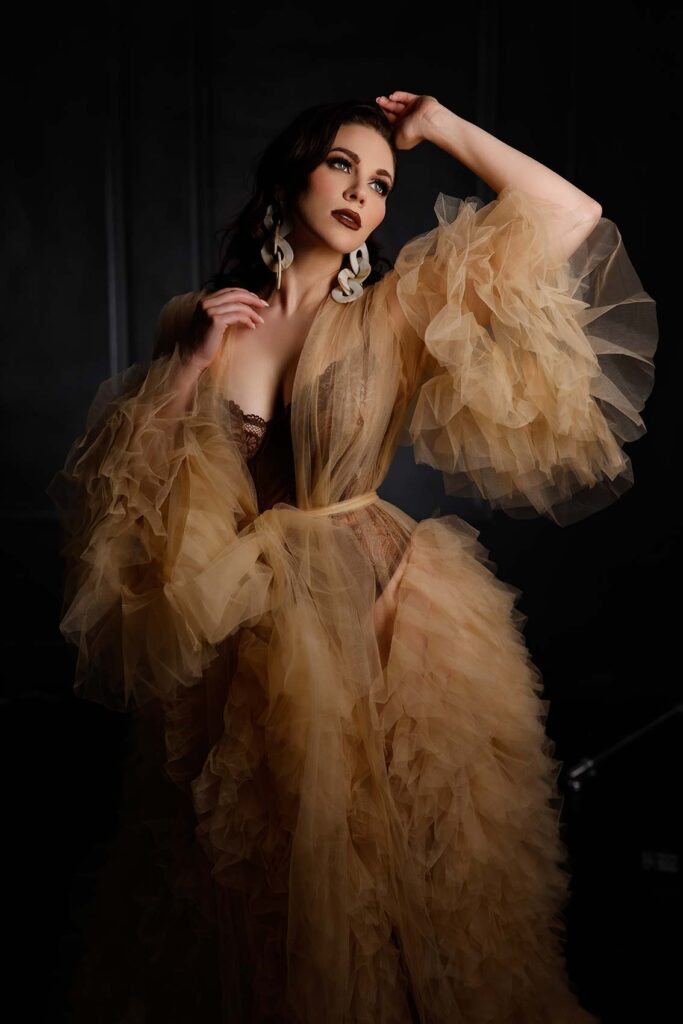
First I want to explain the lighting setup we’re using – Westcott L60Bs with three lights set up here: one main light with one by three strip box; an edge light set up using another L60-B that is gridded; and finally one more L60B for lighting up the background. Overall we have three lights setup – though you could do it with just two, I find this setup more aesthetically pleasing.
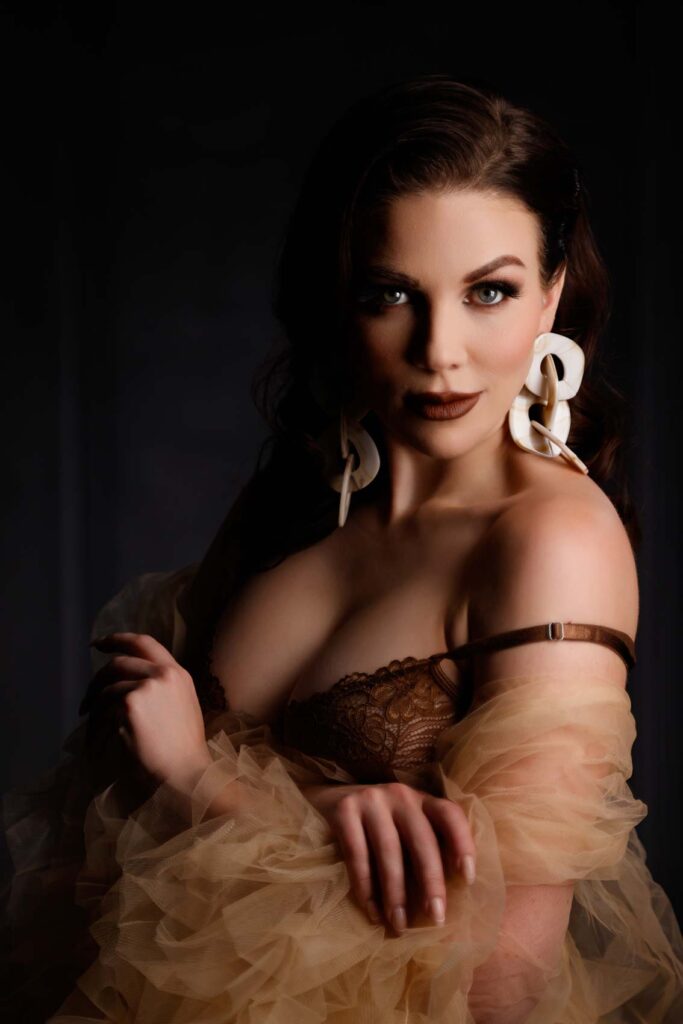
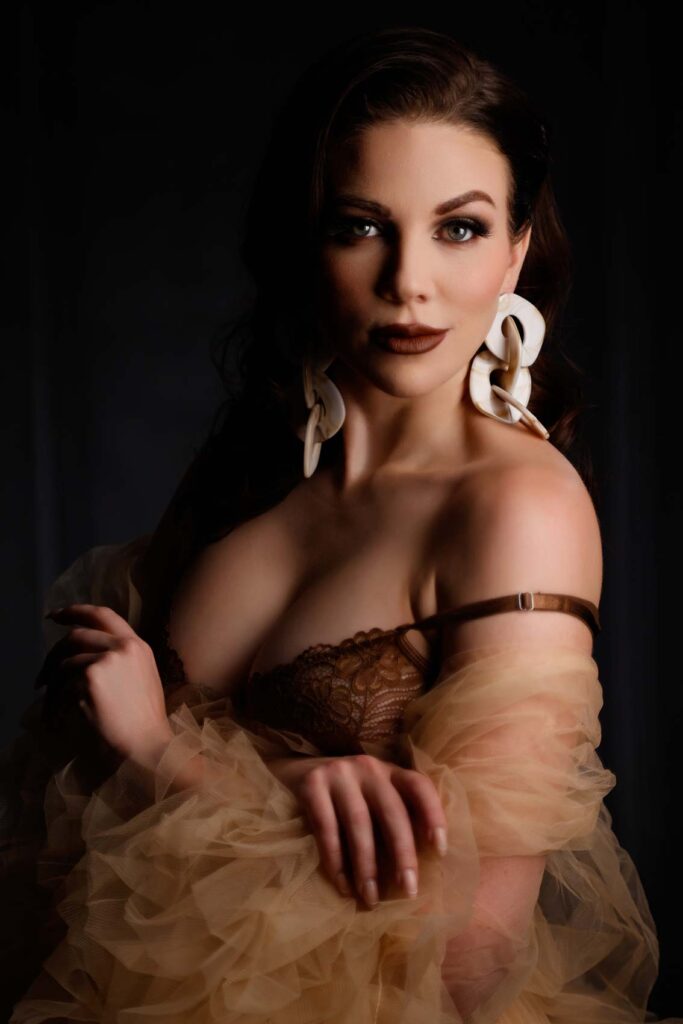
Precautionary measure should always be taken when working with shadows; lighting something too much will draw our eyes toward it and draw out any desired detail in Lauren’s body that I want hidden by keeping both main light and edge light sources on one side; this allows me to keep her right side hidden by keeping Lauren posed with her hip sitting, giving us some hidden detail within shadows that we want hidden.
Settings: f/1.2 @ 1/50, ISO 50
Settings: f/1.2 @ 1/50, ISO 50
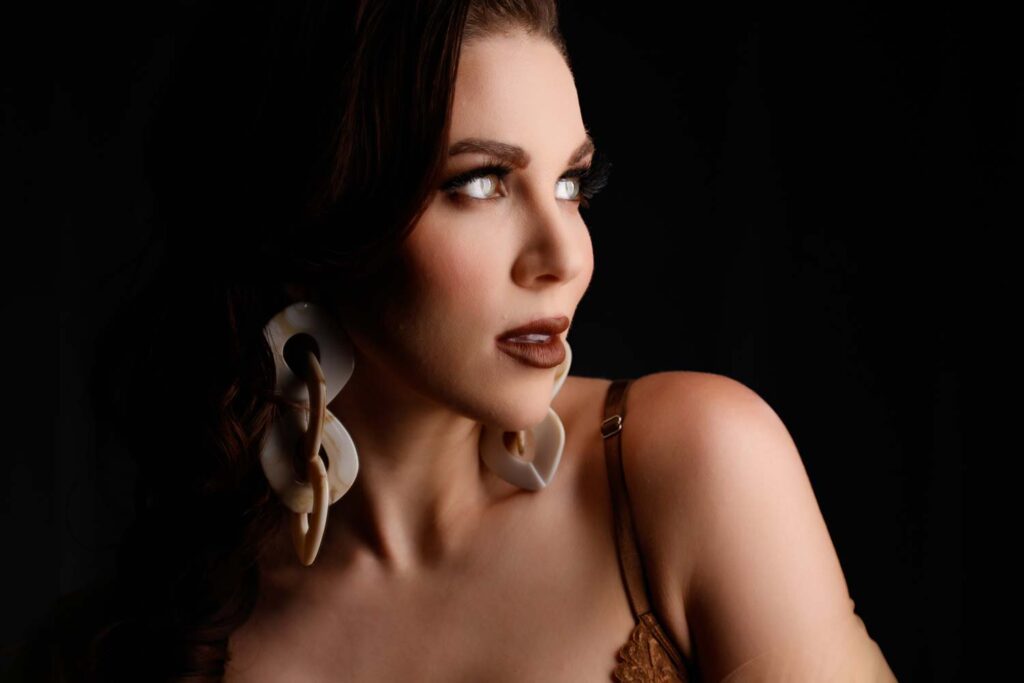
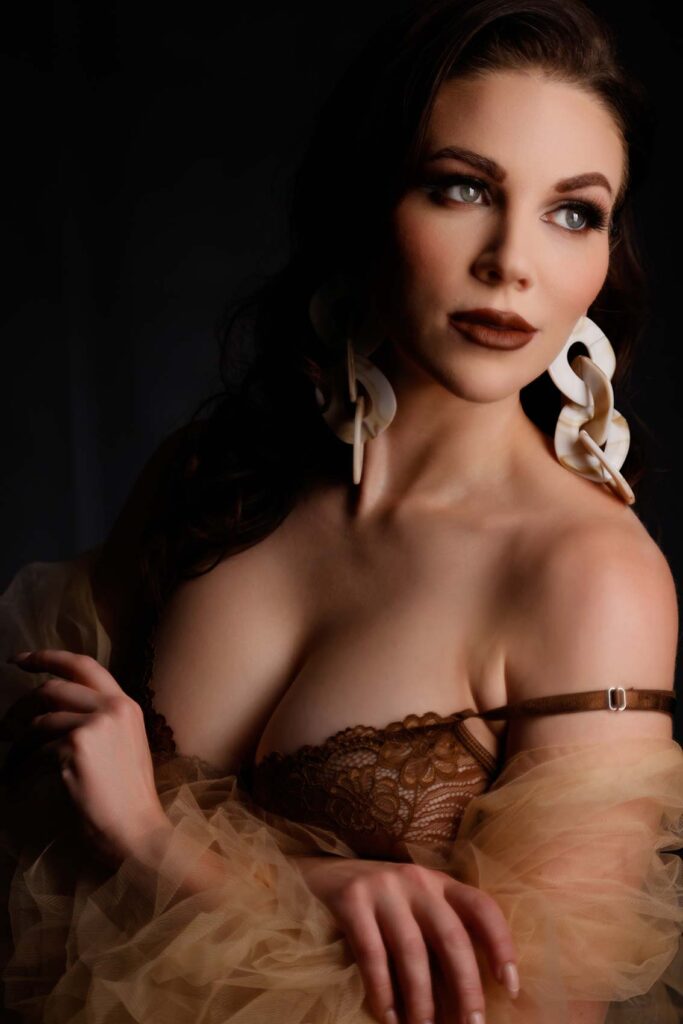
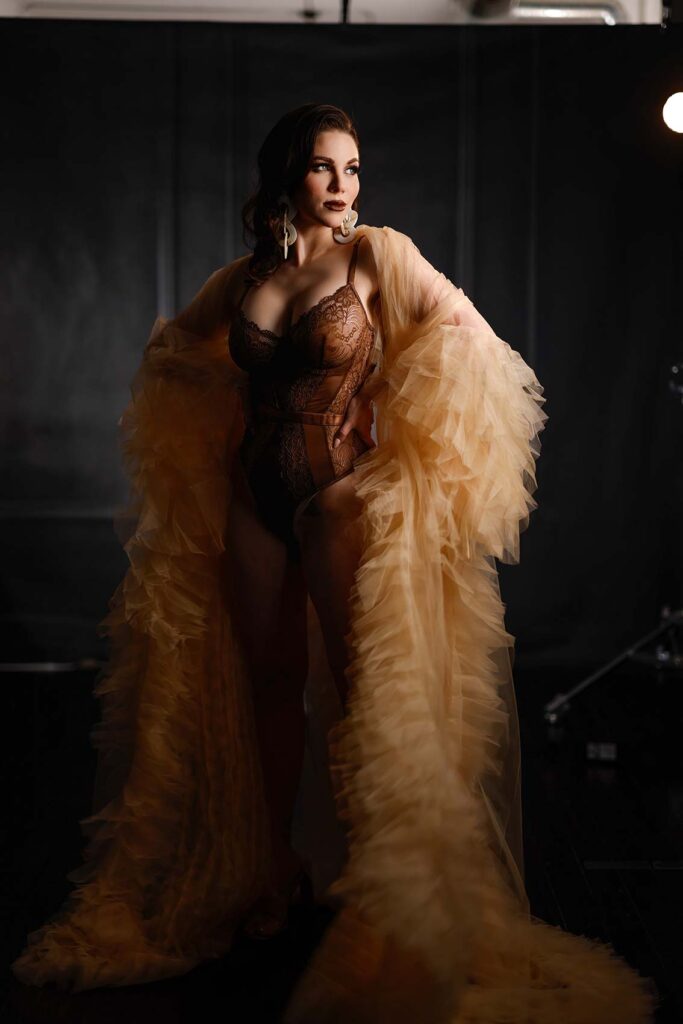
At first, I’d like to demonstrate both broad light and short light as the first step to corrective lighting and corrective posing. Since your eyes always go to brightest parts, what I prefer doing is keeping the light at the shortest side of her face for broad lighting; that way it illuminates everything around her, from chest to hair to clothes being lit equally with one light source, making her appear heavier than she actually is; just like everyone else does!
Settings: f/2.8 @ 1/320, ISO 800
Settings: f/2.8 @ 1/320, ISO 800
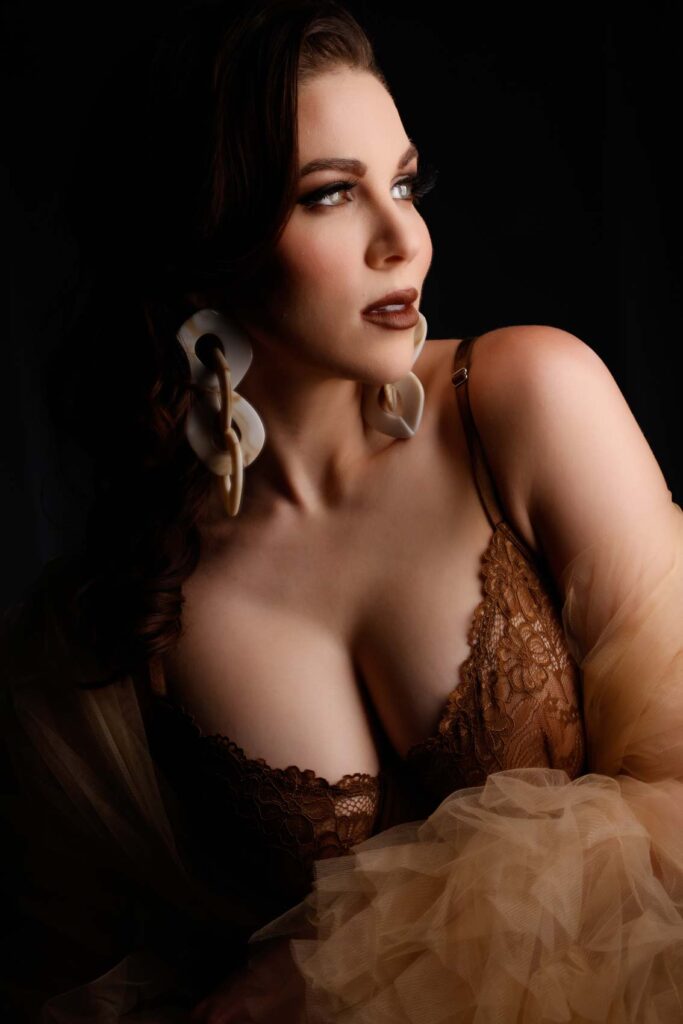
And so if you have a size zero model, that’s wonderful; but for clients who are slightly heavier or head shots in general, we don’t require such broad light sources. There will always be exceptions; typically if your goal is to make clients appear slimmer short light should be the choice – we can move light to either side or use flat lighting which illuminates everything more evenly.
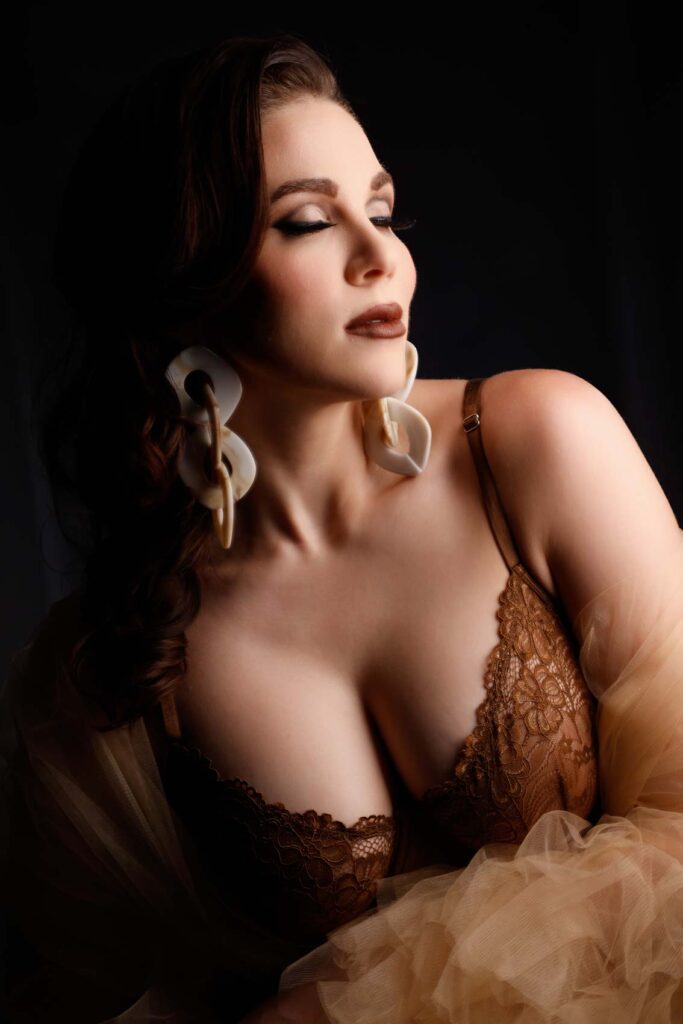
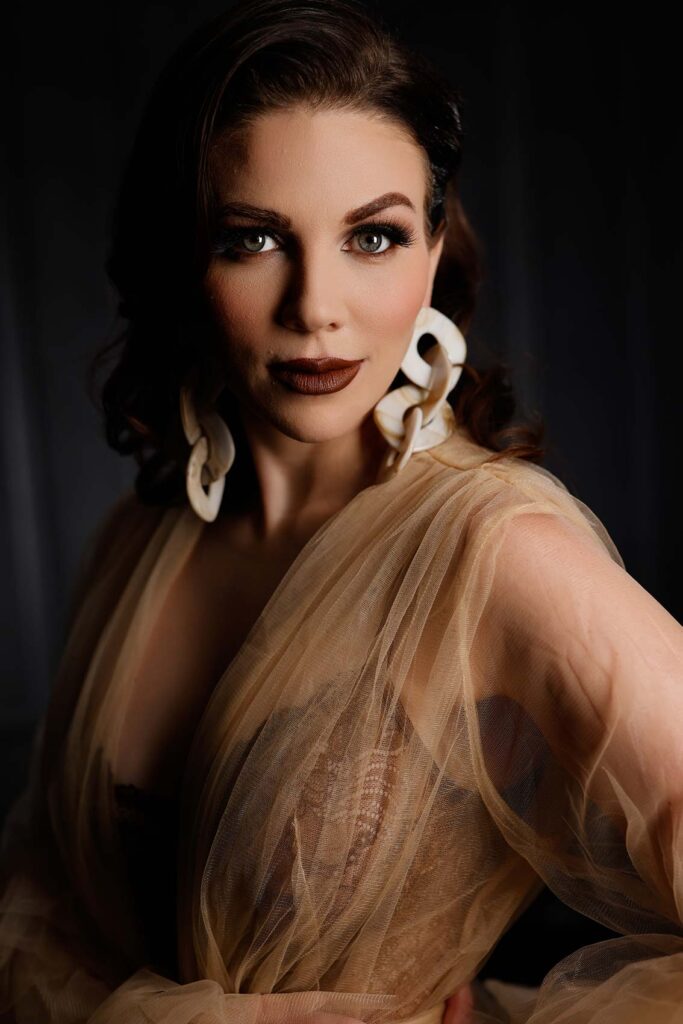
What I like to do is change body angles as well, so we can hide details in the shadows while simultaneously drawing her face back toward camera – this way if there’s an area like heavy chin or necklines which need emphasizing on, that won’t be done either! No one likes that.
Settings: f/2.8 @ 1/200, ISO 800
Settings: f/2.8 @ 1/200, ISO 800
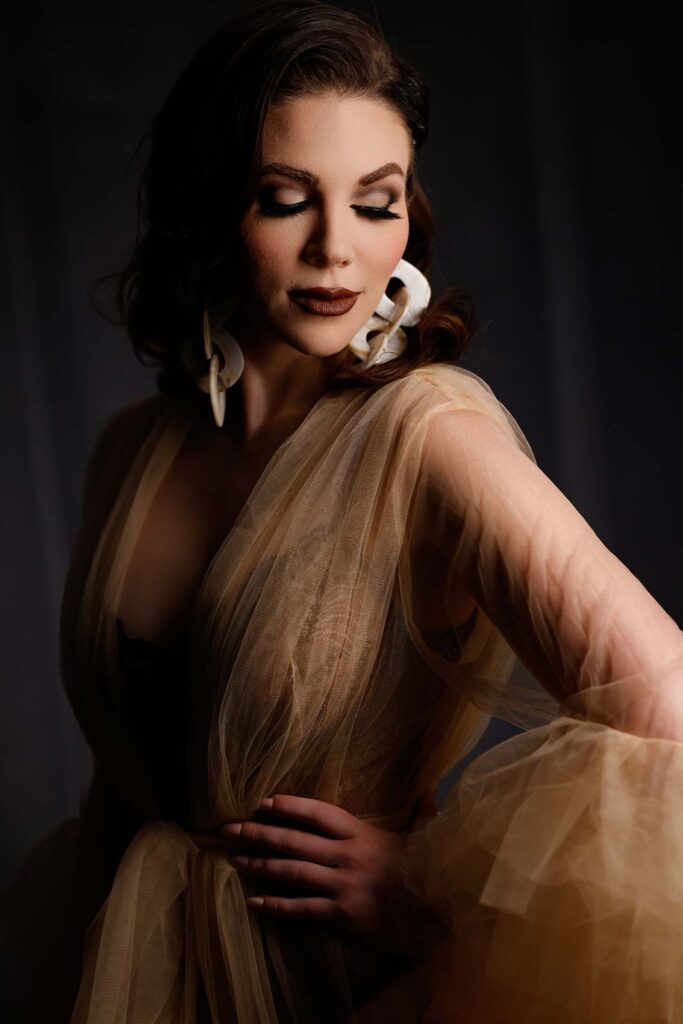
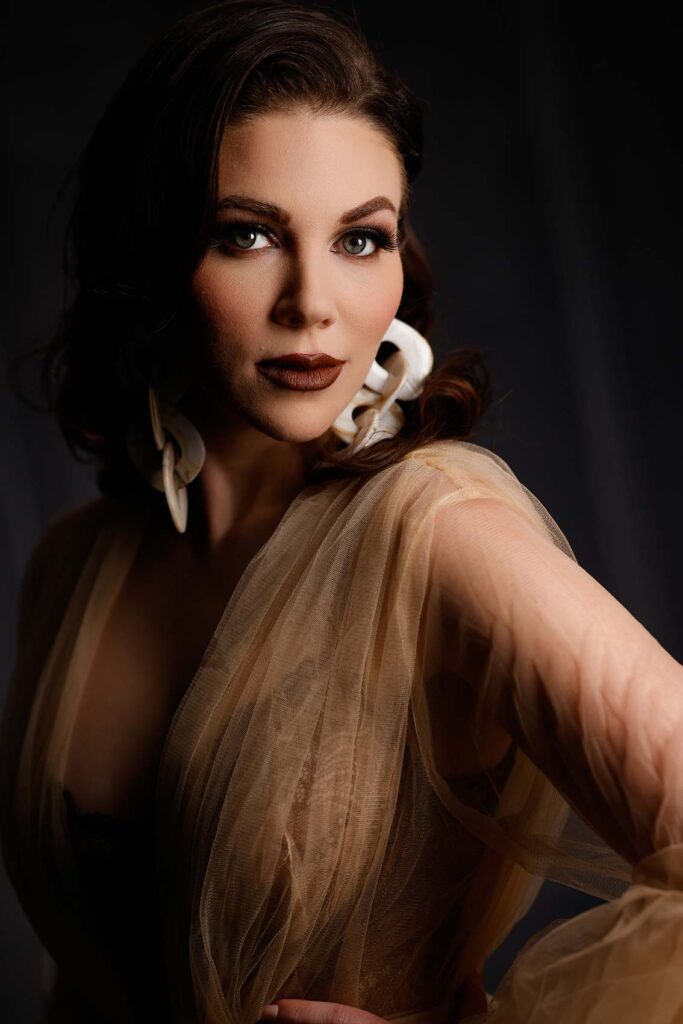
First we can do is demonstrate our capabilities; second is how we instruct clients. I want to demonstrate something really cool here that’s worth seeing from both directions – side and front on. What will end up happening is, as expected, we are creating a double chin – no one likes that – when people put their chin down they inevitably create a double chin. And I teach my clients to do a technique called turtle-ing, in which they push from here – as you’ll see from my photo from the side with my chin down – in order to push out from here in order to thin out their necks. Here’s another angle of it from front. As you’ll discover, this technique is subtle but enormously valuable for showing clients. I strongly suggest you learn this skill; although it might feel foolish at first, but trust me; it will look amazing on camera!
Controlling lighting direction and getting them to turtle will have a dramatic impact on how subjects look in photographs, not only for boudoir sessions. As a boudoir photographer, it is imperative that you understand both of these things I just mentioned; similarly on wedding days when brides prepare in hotel rooms. Window lighting makes an appearance, and I take full advantage of it by turning my bride away from it and back towards it for portraiture shots that create beautiful portraits – regardless of her body size, and then turning back around towards it to take photographs that create eye-catching images that make an impactful statement about who she is as an individual. Doing this makes a noticeable difference in the end product!
Settings: f/2.8 @ 1/250, ISO 800
Settings: f/2.8 @ 1/250, ISO 800
Settings: f/2.8 @ 1/160, ISO 400
Settings: f/2.8 @ 1/100, ISO 400
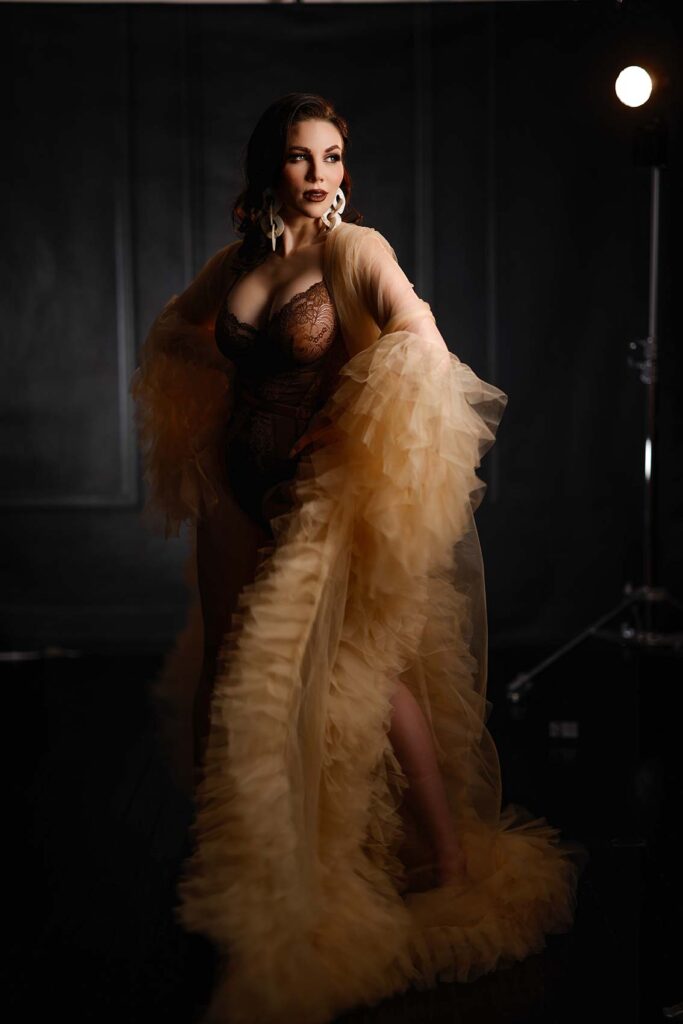
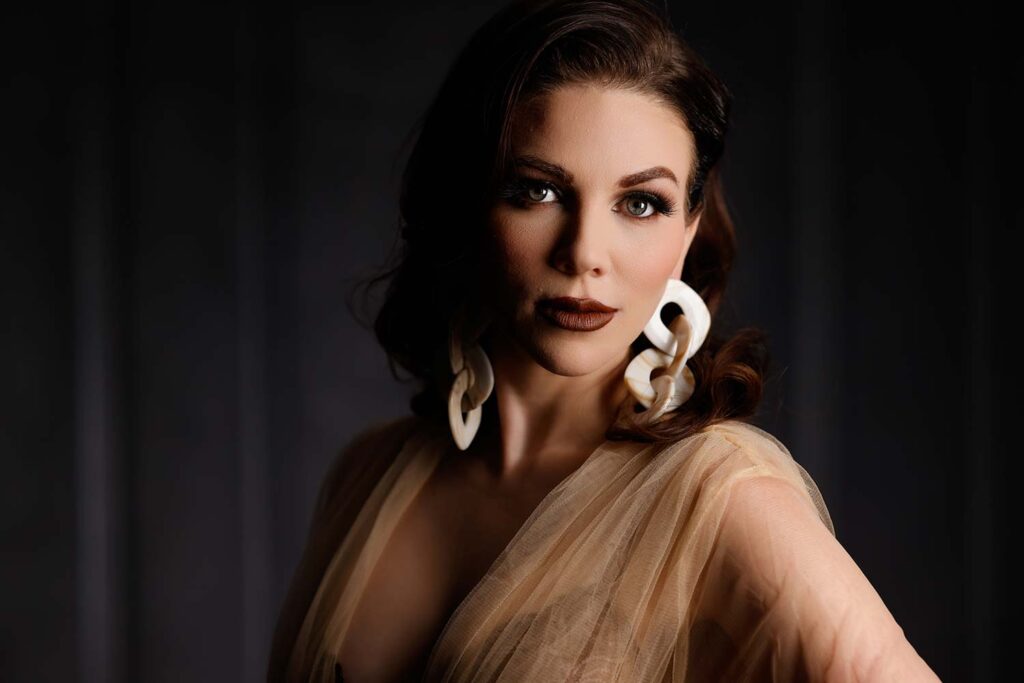
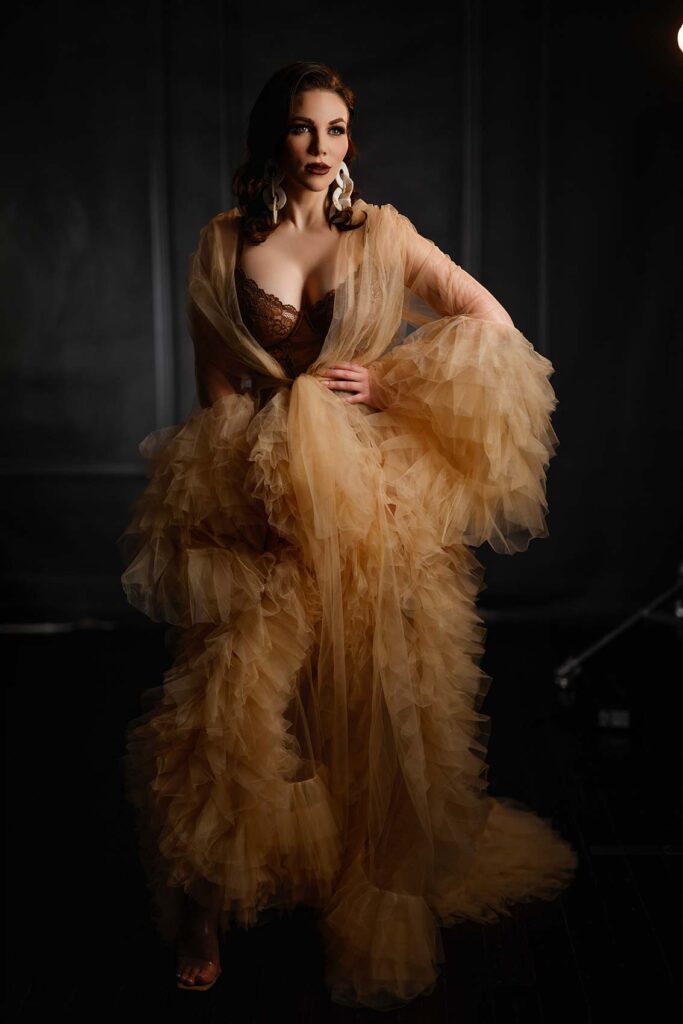
All right, so the next tip involves wardrobe. Though sometimes this can’t always be controlled – a bride on her wedding day has no control over this – your eye will naturally gravitate toward what stands out most in an image. So if you’re styling or taking engagement photos for high school seniors or couples, the bolder the colors, the more attention they will attract as your eye is naturally drawn toward bright spots in an image. Here, she wears very muted tones. Though brighter in hue, the hue falls into the brown family; not stark white or stark black but instead is something in between; furthermore, her undergarment is also darker brown, providing another way of concealing something within its shadows – another great advantage of using darker hues for clothing and makeup!
Settings: f/2.8 @ 1/250, ISO 800
Settings: f/1.2 @ 1/50, ISO 50
And finally, as I will demonstrate here with this shot, the focal length can make all the difference and is completely in your control as a photographer. So the wider I go – 24 millimeter, I know many of you love working with 24-70 or 50 millimeter lenses – it begins to emphasize all of their clients’ features improperly; therefore, making their nose appear larger, their face appear wider, etc. Whereas with larger lenses – 85 millimeter is an ideal portrait lens; 100 or 200 millimeter lenses require you to step further back, compressing features, controlling their final look, and making them look their best – the results become much more visually pleasing and often better received by subjects. Of course, boudoir photographers would find that impossible in a hotel room setting where 200 millimeter lenses would only serve to blur them out visually!
So it is simply necessary for you to know how to perform all these functions, and let me show you the difference between using a 24 millimeter lens vs 85mm or 100mm lenses; I think you will agree it is striking.
50mm
Settings: f/2.8 @ 1/200, ISO 800
85mm
Settings: f/2.8 @ 1/200, ISO 800
100mm
Settings: f/2.8 @ 1/320, ISO 800
These are decisions you have to make when working with clients, but that is part of what they pay you for; experts. I personally favor 100 because it produces striking photographs. But let me know in the comments what works for you guys! Hopefull this has helped, particularly if you’re a photographer looking to help their clients look their best for headshots, weddings, boudoir, corrective posing or any kind of corrective posing you need to do – it doesn’t even need studio lights! Do it with strobes indoor and outdoor, with natural lighting or through your client posing and shaping their body – shadows are there for us all to use to hide things! Let’s meet up again soon for another video!