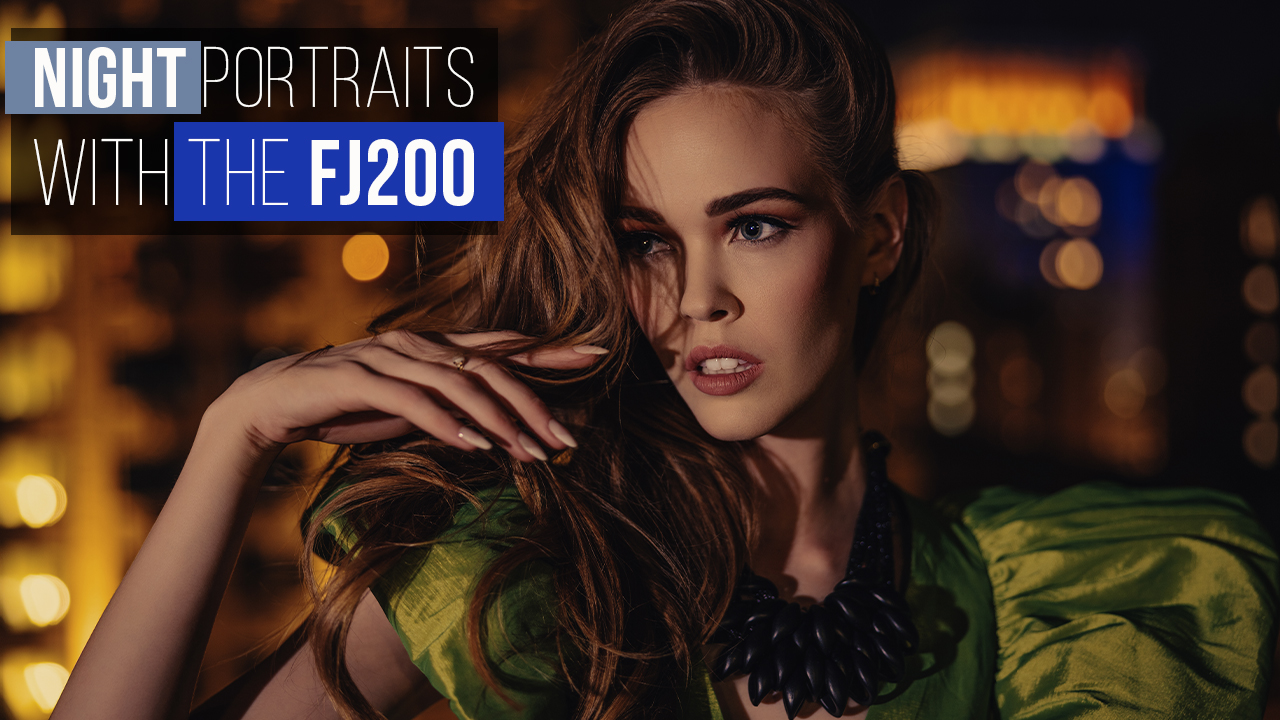
Are you ready to capture stunning portraits outdoors at night using the FJ200 off camera flash? In this how-to photography video, I demonstrate portrait photography at night using this flash off camera flash and share some tips and tricks for positioning it for optimal portrait photography results.
Ready for some night portraits with the FJ200? Let’s get to it.
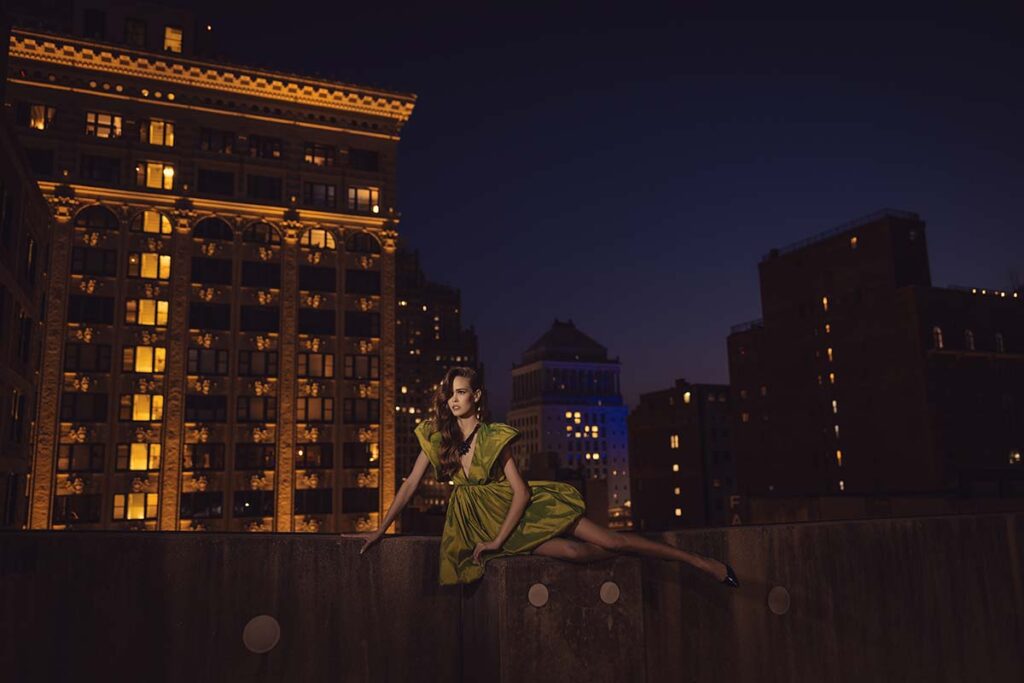
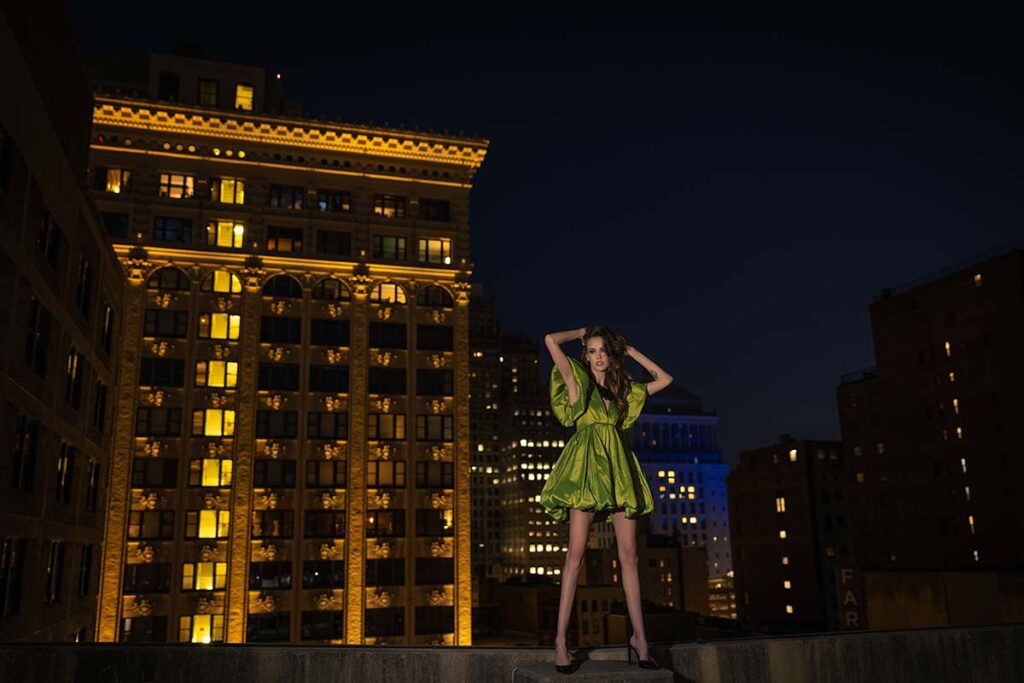
Hello all! My name is Sal Cincotta and today we are in downtown St Louis on a rooftop parking garage to take some end of night photos with the city skyline as our backdrop. For this shoot I will be using both my Canon R5 and Canon RF28-70 F2. At F2, I will take these images to create the background with more of a milky appearance, while for lighting we are using an FJ200 with a zoom reflector to give that light some punch further away from us. Here is some insight on settings as I encourage everyone to go try this! It is so much fun; working in manual mode allows more ambient light into my compositions.
So if I were to take this shot at 1/200th of a second, she might look great with all those streetlights over here and our zoom reflector, but all those buildings in the background will become black with some orange lighting visible here and there. What I really want to be able to see are blue sky, texture of buildings, texture of textures – these features add dimension. And I also prefer hard light instead of soft light portraiture here.
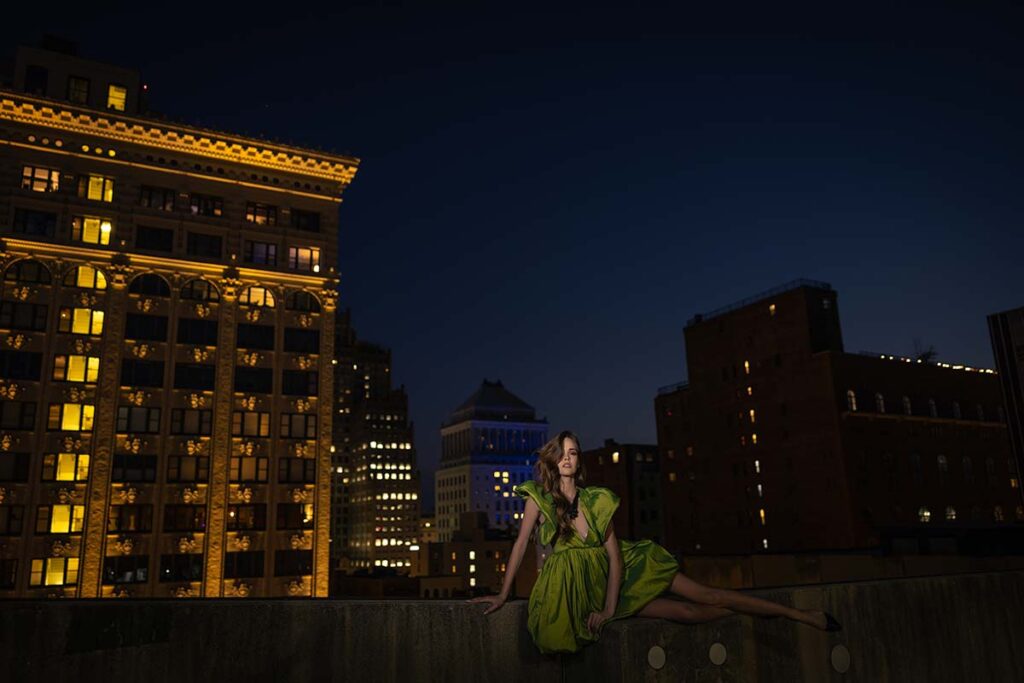
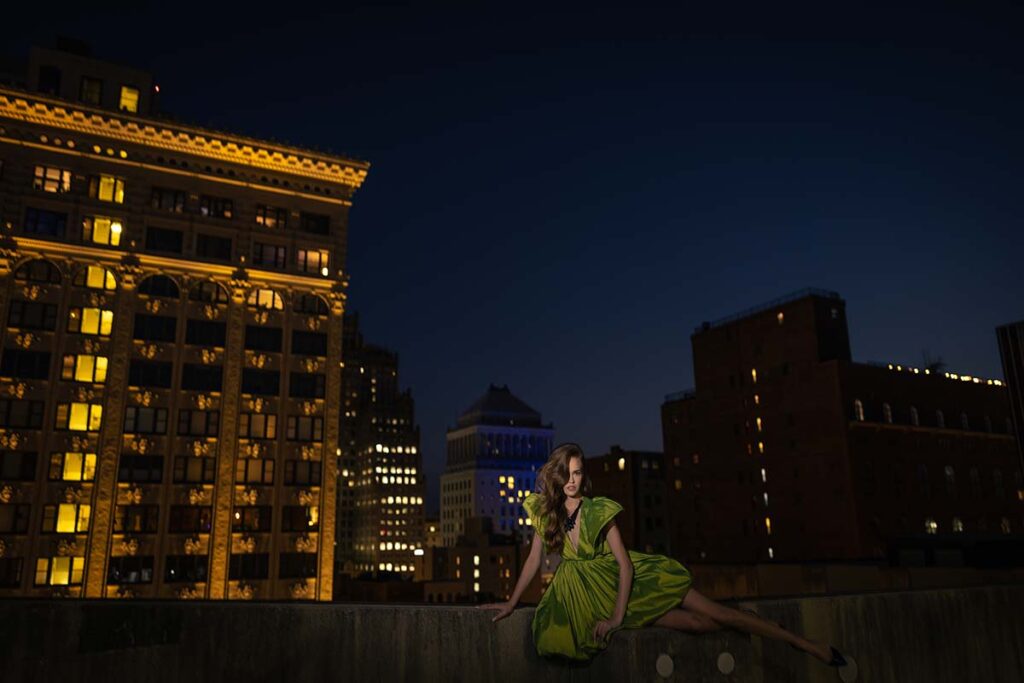
Ambient Light
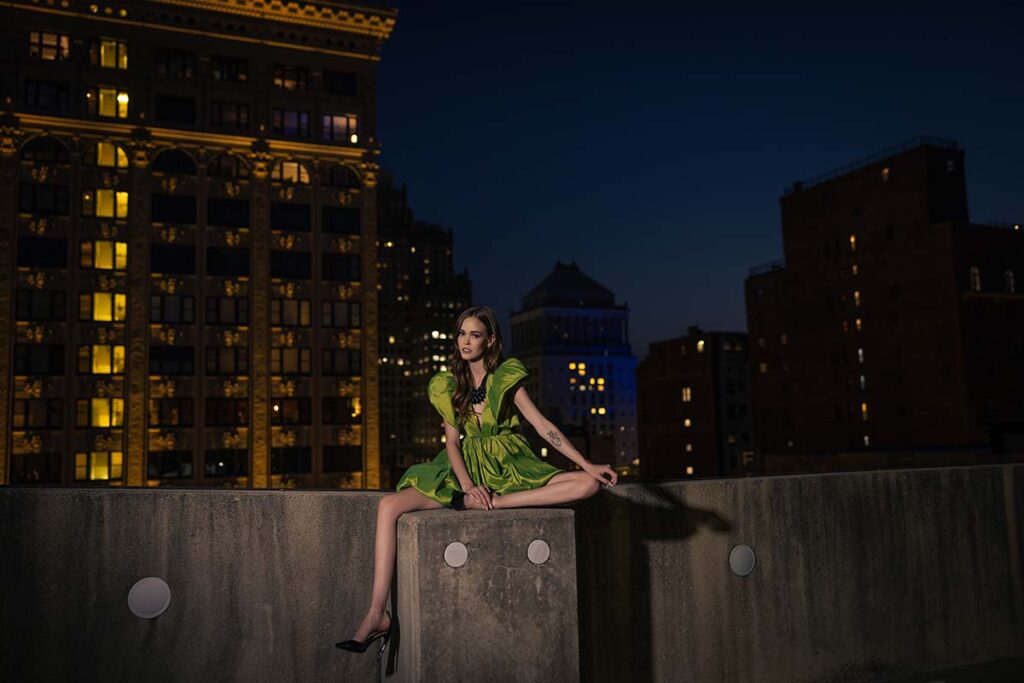
Settings: f/2 @ 1/20, ISO 200
No Flash
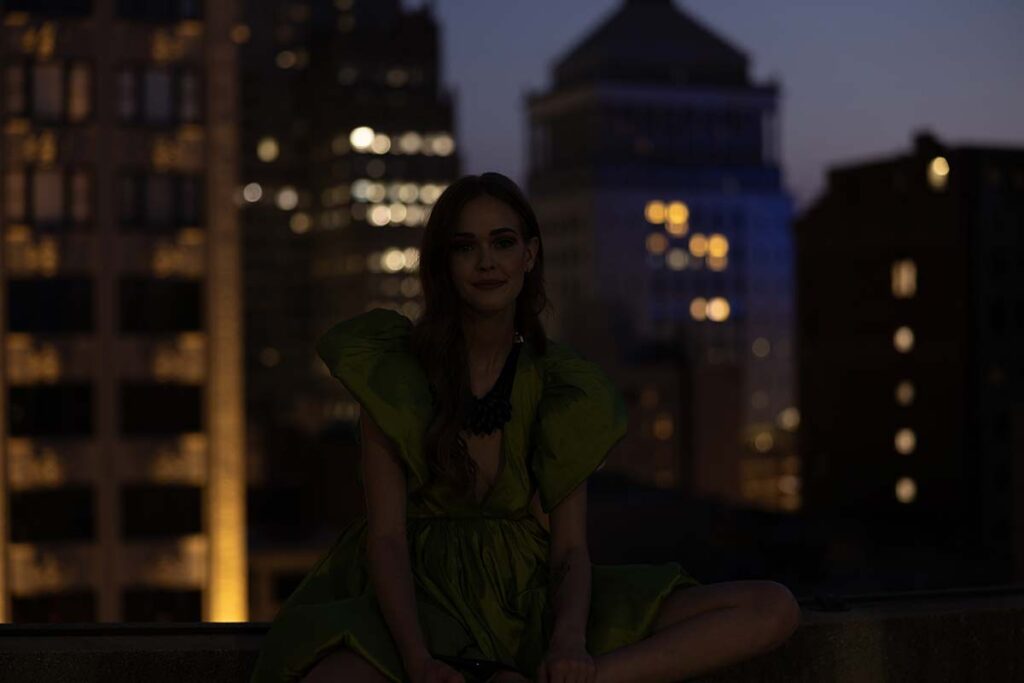
Settings: f/2 @ 1/20, ISO 200
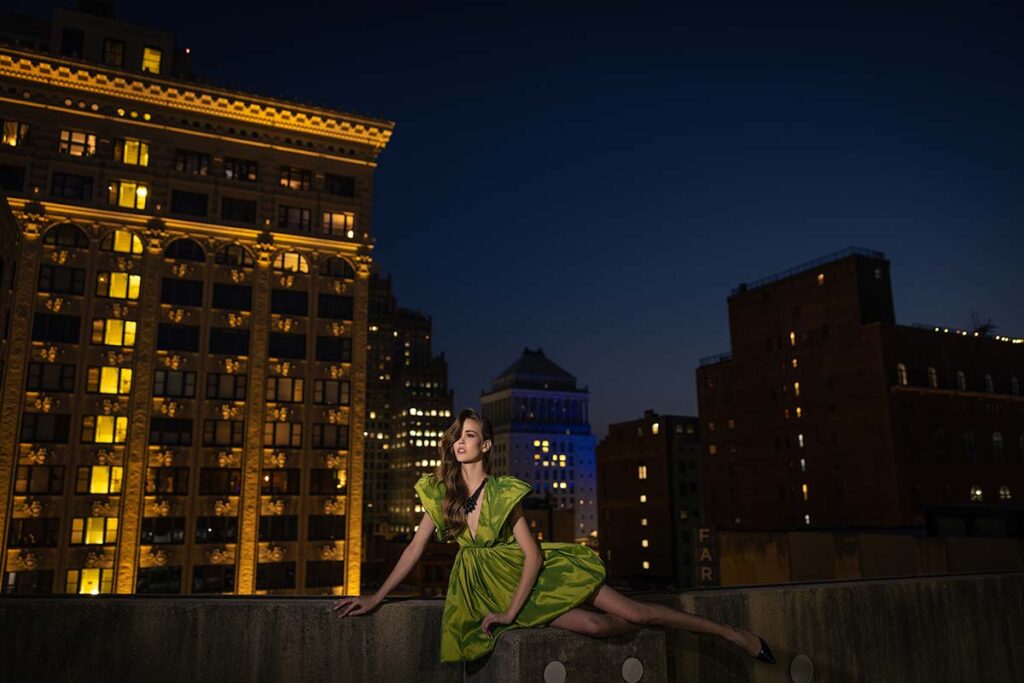
Let’s have some fun and try some creative poses – let me know which scene or pose is your favourite in the comments below. You don’t want to miss it! Join Violet (@thevioletd), our hair and makeup artist from ReFine Beauty Brandi and us as we use this funky grip (I call it trigger grip :p). Here we have this attachment which makes working easier with an FJ light: we can hold it like this so it makes working much simpler!
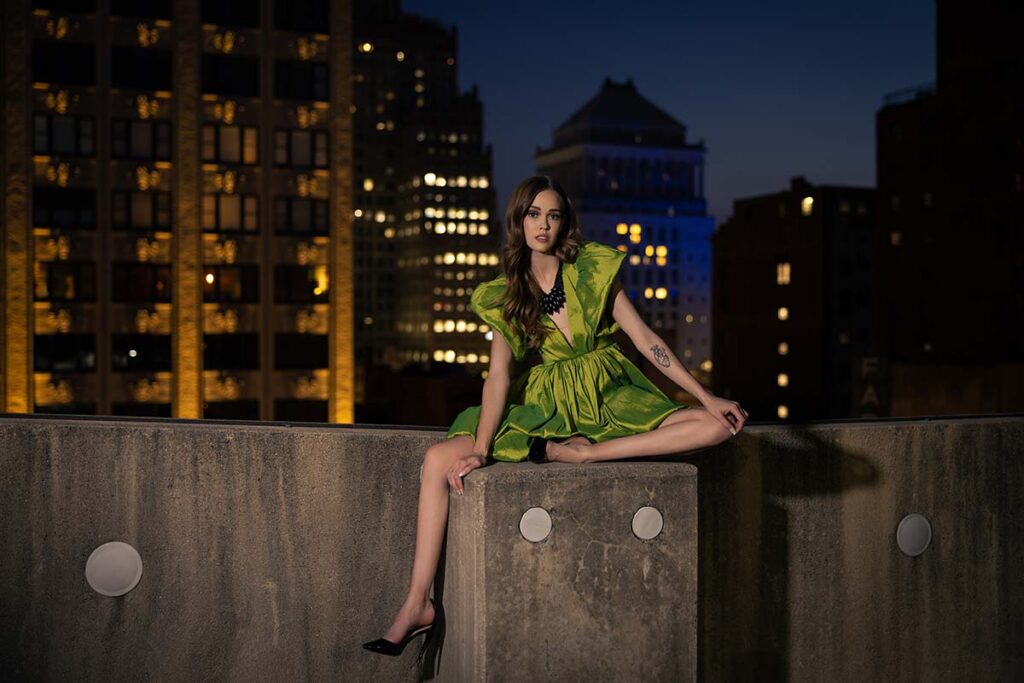
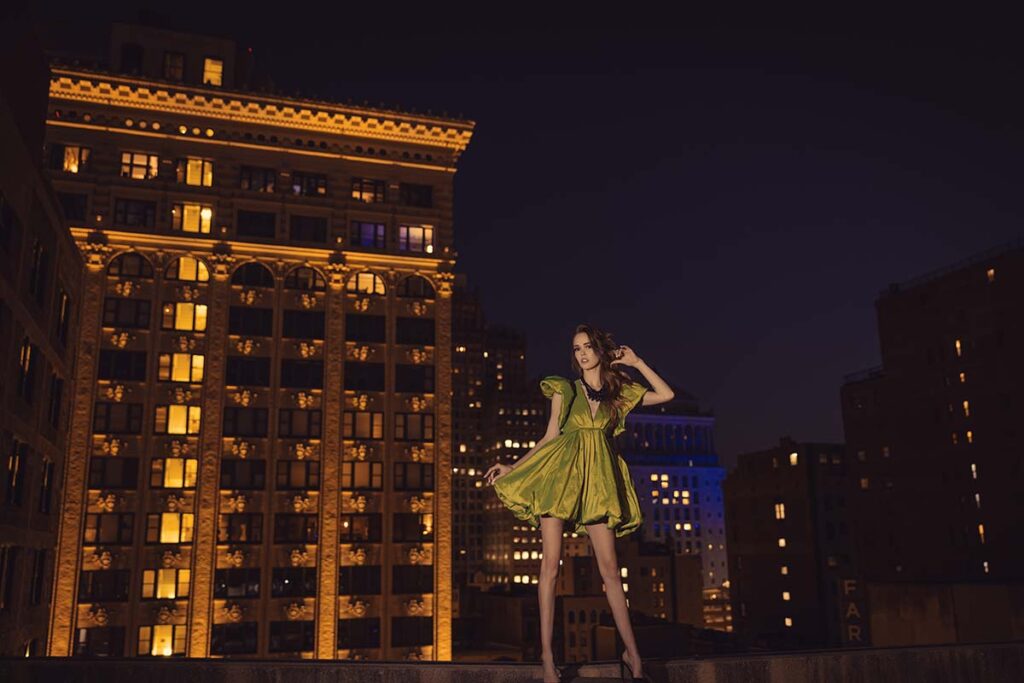
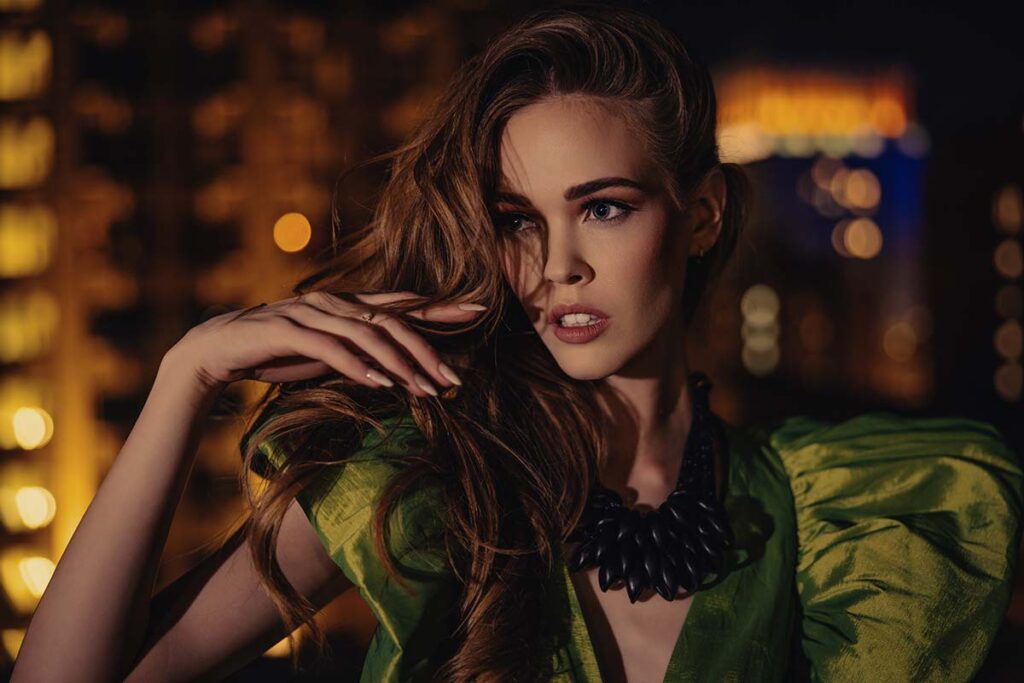
Okay, let me do a test shot here. My goal is for this shot to be hard and directional; I love how this turned out! Now let me add more angle, showing more of the architecture here; Violet should work her magic between buildings for more ambient results – maybe going back down to 1/10th of a second could help with that too!
Test Shot
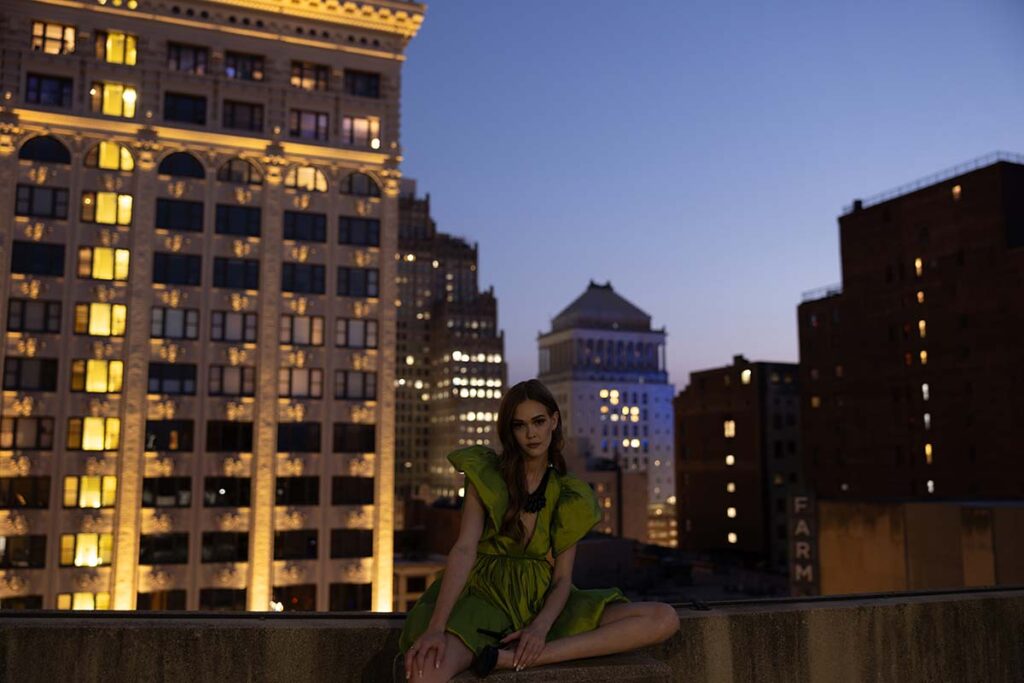
Settings: f/2 @ 1/10, ISO 400
Settings: f/2 @ 1/10, ISO 200
Settings: f/2 @ 1/10, ISO 200
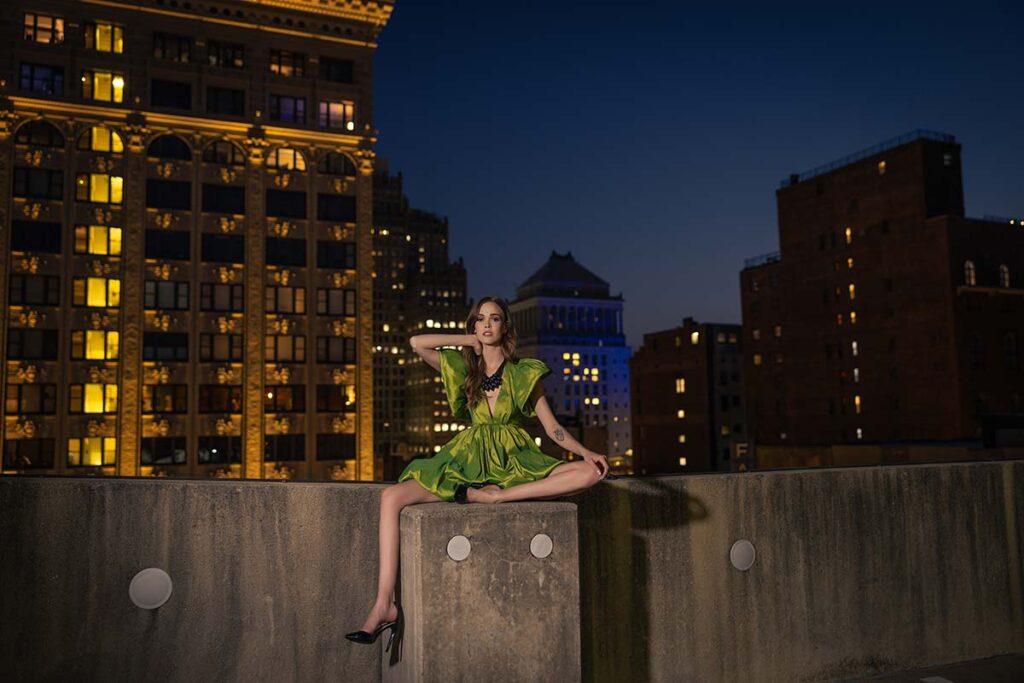
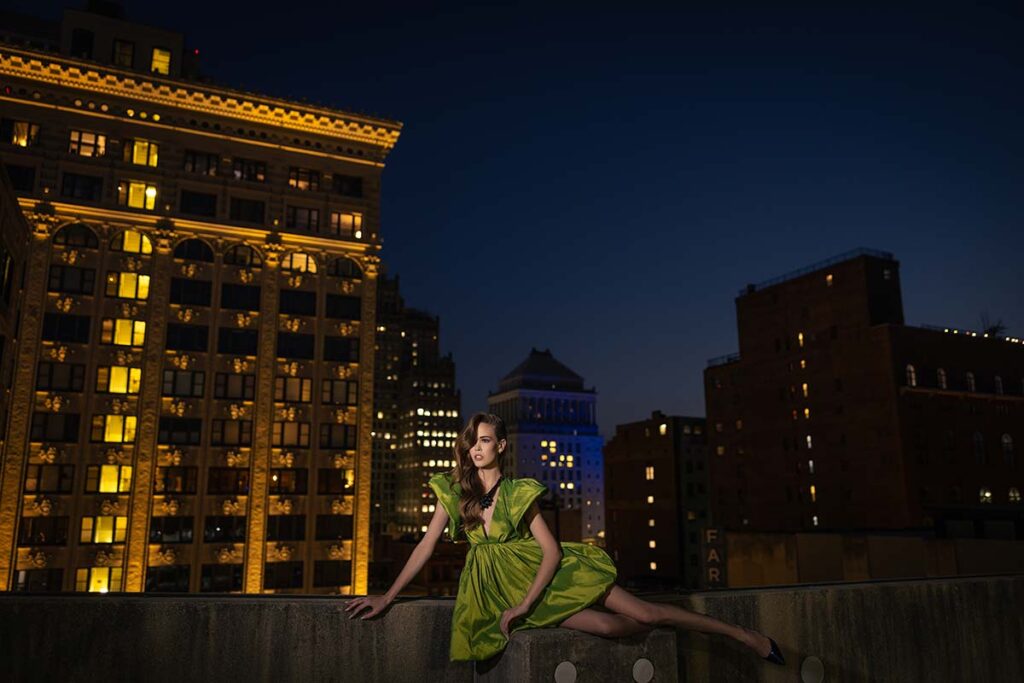
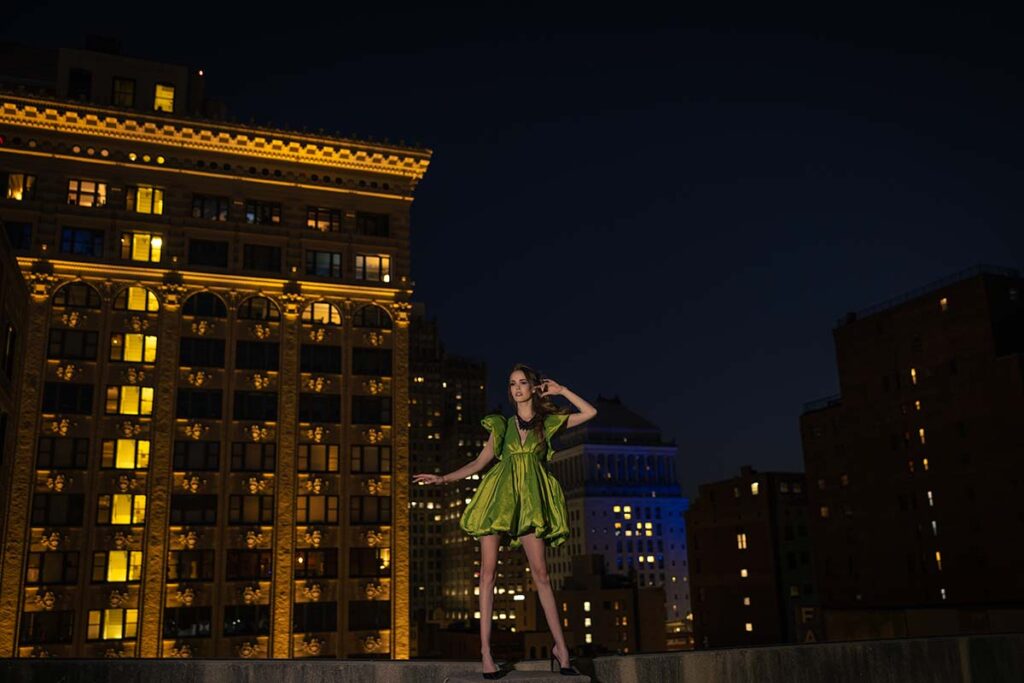
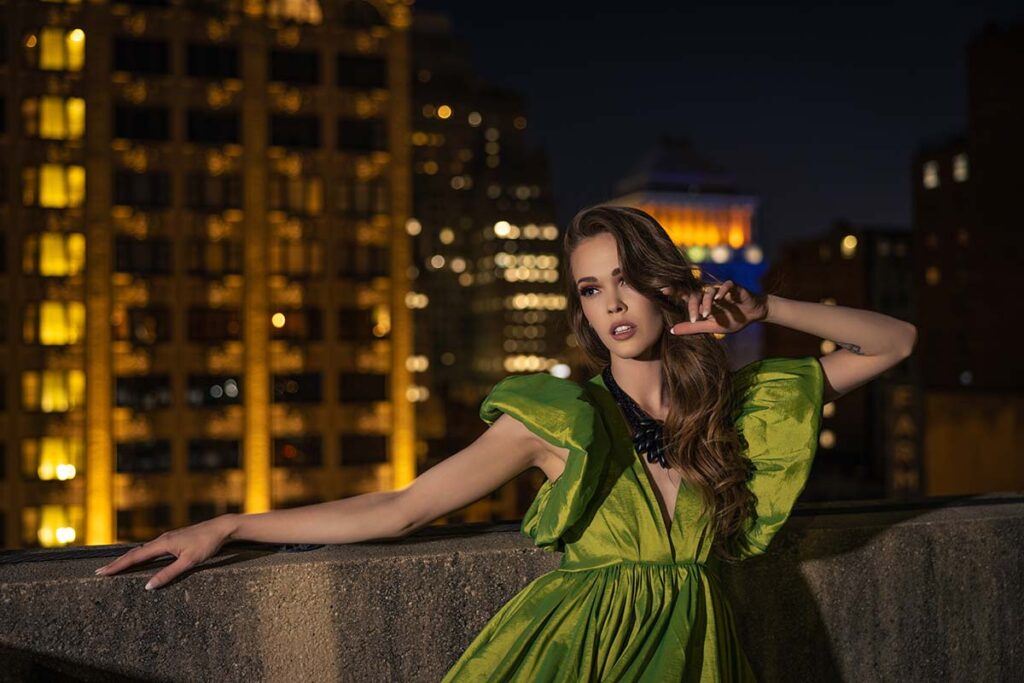
Let’s be a little more adventurous with Violet. Try different angles. Even at 1/10th of a second hand-held, the images remain sharp; that is due to how flash is freezing action while still letting in ambient. Don’t be intimidated by going down to 1/10th; I know it sounds frightening but wedding photographers will see that it changes everything dramatically – I’m just trying to capture her in-between the buildings here!

Settings: f/2 @ 1/10, ISO 200
Settings: f/2 @ 1/10, ISO 200
Settings: f/2 @ 1/10, ISO 200
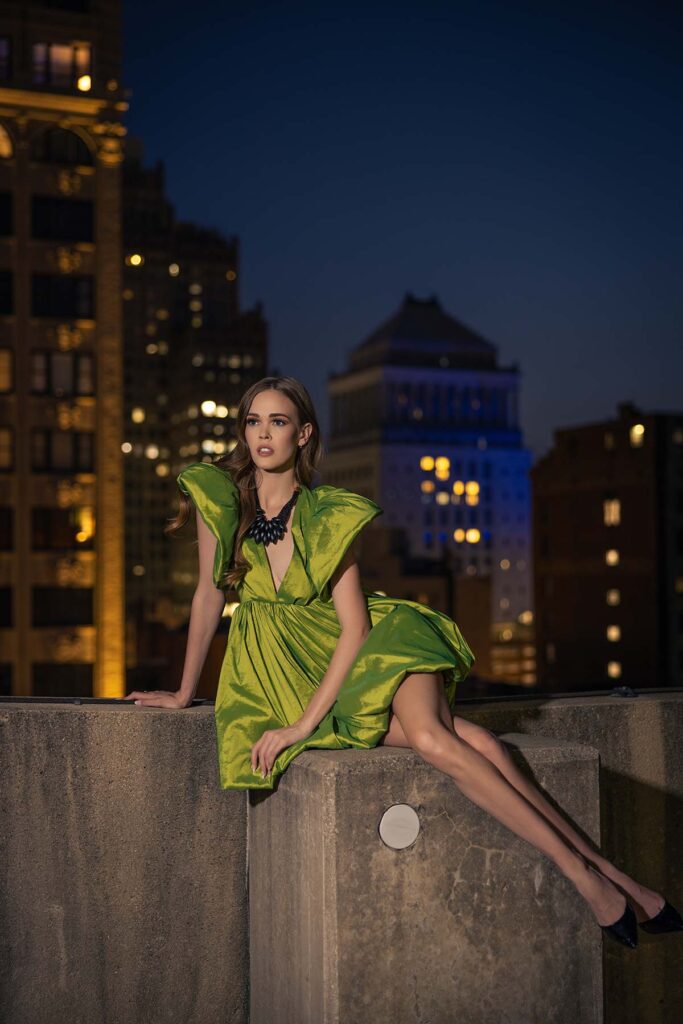
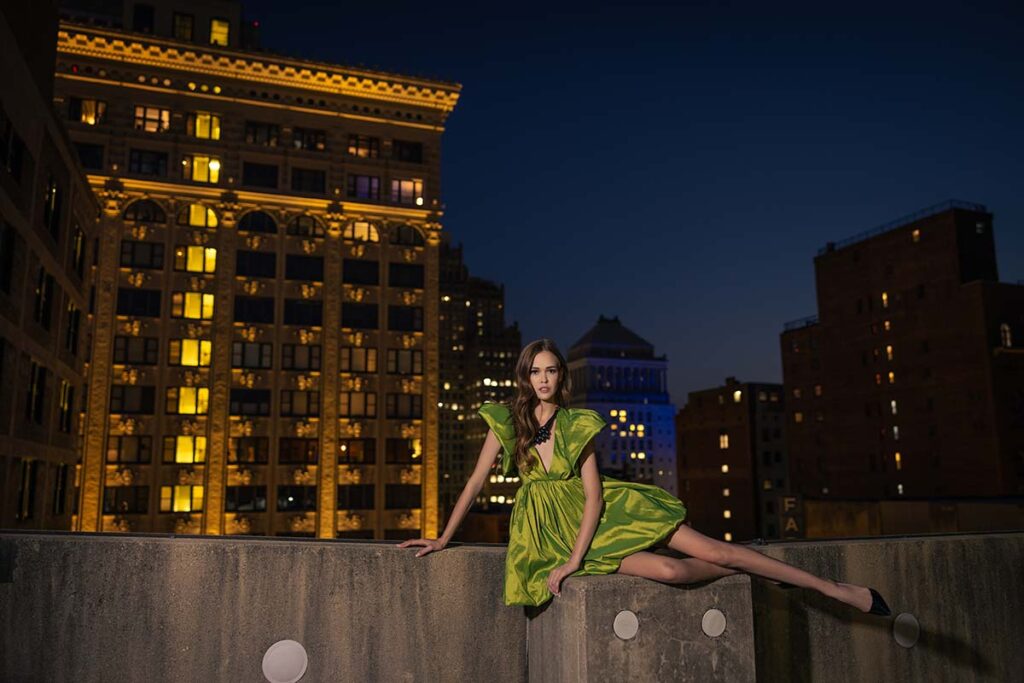
Now, what we’re seeing is more ambient of the buildings, thanks to Violet’s angles here. I want Brandi to follow her nose more closely so we can tilt up that light more directly – this should help limit some of that light spillage and start making this more focused and professional looking. Now let’s get serious!
Settings: f/2 @ 1/10, ISO 200
Settings: f/2 @ 1/10, ISO 200
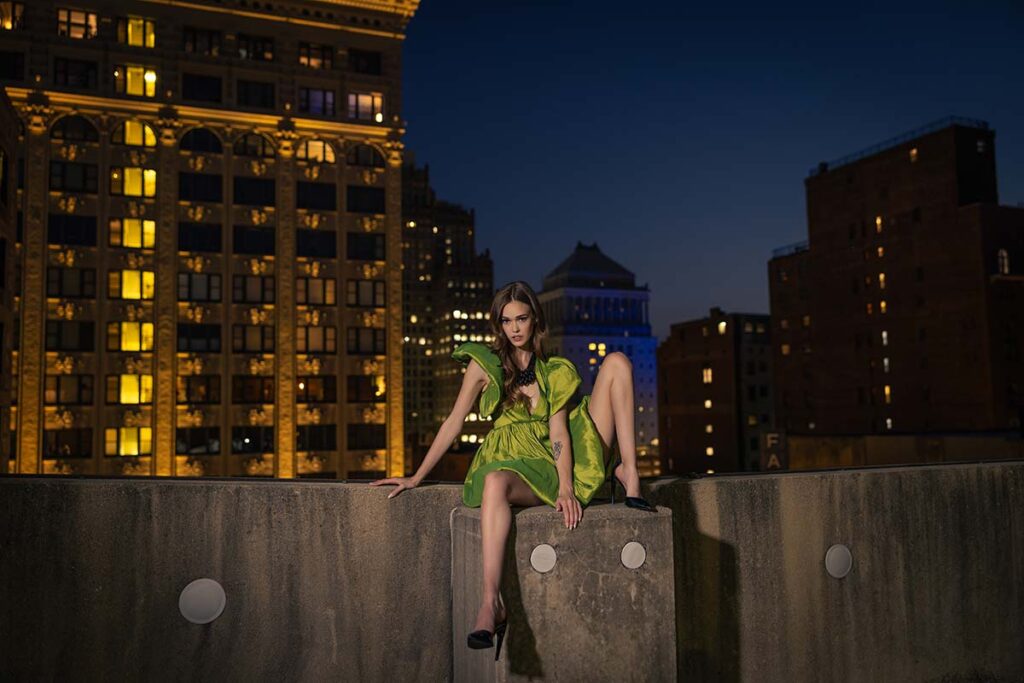
I do want to point out something you may or may not have noticed: in the early frames, I was very careless with light spillage, something which was intentional for a certain look I was after. Not necessarily my preference, but there’s been an increasing trend toward portrait photography where there’s lots of light everywhere – which I did at first myself until Brandi had me turn it back a little to create this effect. And I want you all to witness it for yourselves. So when Brandi fires her light directly at her, you’ll get an explosion of lights to fall back onto the ground and illuminate her surroundings, as seen in some shots. So what I asked Brandi to do was tilt her light upward, creating an optical illusion whereby it appears that someone in the sky is lighting her but by doing this she has altered its funnel pattern so now the light skimms across it and you see its effects here.
Light Firing Directly Straight
Settings: f/2 @ 1/10, ISO 200
Light Firing At An Upwards Tilt
Settings: f/2 @ 1/10, ISO 200
So let’s keep working this with Violet with different poses.
Settings: f/2 @ 1/10, ISO 200
Settings: f/2 @ 1/10, ISO 200
Settings: f/2 @ 1/10, ISO 200
Settings: f/2 @ 1/10, ISO 200
Settings: f/2 @ 1/10, ISO 200
Hope you’ve enjoyed watching our night portraits video with an FJ200. Like, comment, subscribe and let us know which portrait was your favorite – see you soon in our next one.
Settings: f/2 @ 1/10, ISO 200
Settings: f/2 @ 1/10, ISO 200