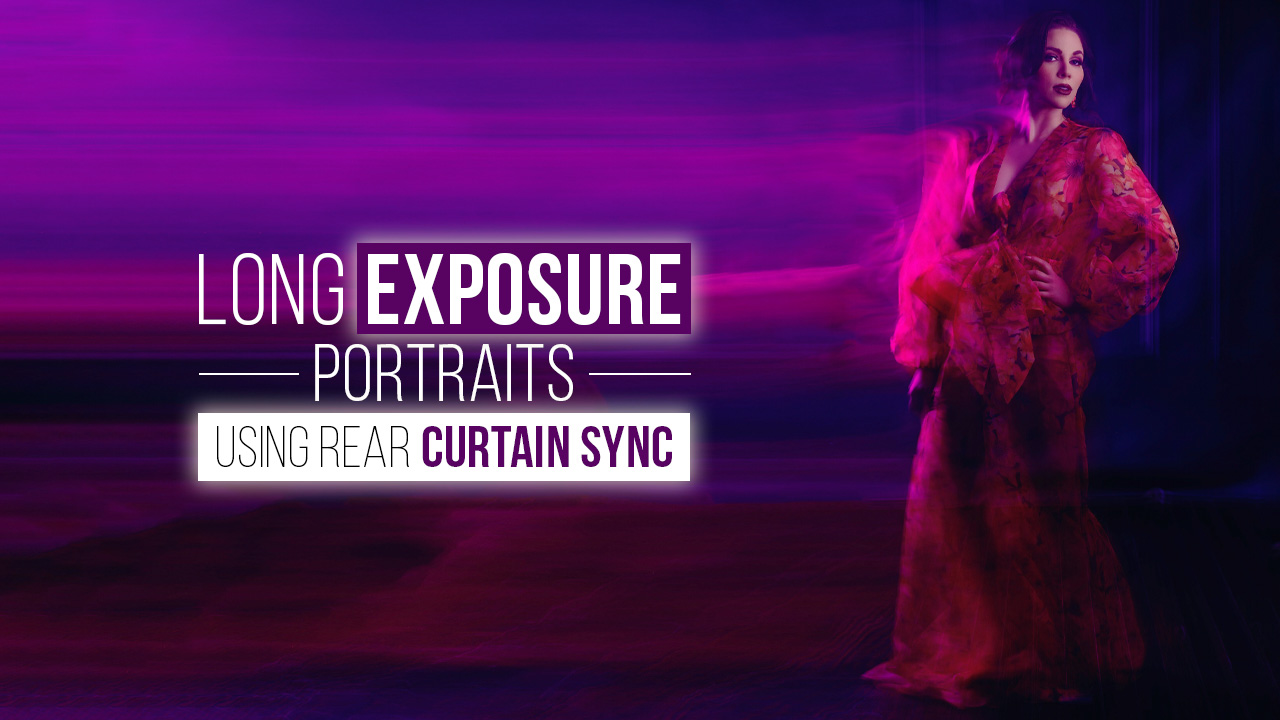
This lighting portrait tutorial introduces long exposures using rear curtain sync. Rear curtain sync may seem complex at first, but with my step-by-step lighting tutorial I show how easy it can be used to achieve unique fashion portraiture styles in images. Plus I detail exactly which flash lighting we used on camera for maximum impact in creating this look!
“Hey everybody! My name is Sal Cincotta. Welcome back to another video. Normally after 11:00 p.m. is when most of us would be sleeping soundly; however, tonight we needed our studio to be pitch black to achieve our creative portraiture using long exposure and rear curtain sync – let me take you through this simple and exciting technique – the results are absolutely spectacular! If you want something different in your portraits this can add something fresh. So give this technique a try if you want something exciting new.
One of the first things we must do when shooting in manual mode is set our cameras into manual mode, typically one or two seconds for exposure, giving Lauren an opportunity to move around and create some motion in her photos. While most senior photographers love doing sports photography with athletes like Lauren, I prefer doing fashion photography as it gives more artistic control. So the goal here should be giving Lauren, or your chosen model, time and opportunity to add action or motion so it helps enhance her look – something which Lauren certainly is able to do thanks to her flowing dress.
So we need to give them time for something, typically two seconds is ideal. Set your camera to manual mode. Take note of any light sources used – here we’re using an FJ200 and Manny Ortiz Beauty Dish which provides soft light. Having it close by should help get power settings right.
Setting your strobe for rear curtain sync is the key to making this all work, but photographers often get lost with what this means in terms of actual practice. Simply put, rear curtain sync means that instead of firing as soon as you press or release your shutter button or release shutter shutter release button or release shutter release button it waits until shutter closes before firing its flash – giving two seconds for movement before firing its flash at rear curtain sync and freezing action as soon as it comes back into focus – thus freezing action on camera! This way we get our desired images every time!
How can we add some visual interest? For just $89.00 I have the Nanlite PavoTube II 6C that’s magnetic; that’s why they’re on my C-stand here. With RGB capabilities that give off lots of light, we can change its hue – here we decided on pinkish purple as a suitable hue that adds vibrancy and character to this image.
So you need something interesting to make the scene more dynamic. A continuous light makes this task simple, as soon as you release your shutter it illuminates all the motion and when frozen the strobe activates with rear curtain sync – creating the ideal environment. Let me begin and it will all make sense. One pro tip I like to employ is placing a piece of gaff tape here as this is where she metered in. So for Lauren, she knows she can do whatever she pleases while knowing she must stop, freeze and face the camera before the two seconds have elapsed. There is some experimentation involved here which adds another level of excitement; that is truly what makes these portraits beautiful. That’s why I love this approach to portraiture photography, though not every client will get this treatment. Instead, we will experiment with this and if I get just one great shot from it all then that was worth it, right? So you can go about your normal business while adding this style into your portrait sessions if desired – let’s do this together!
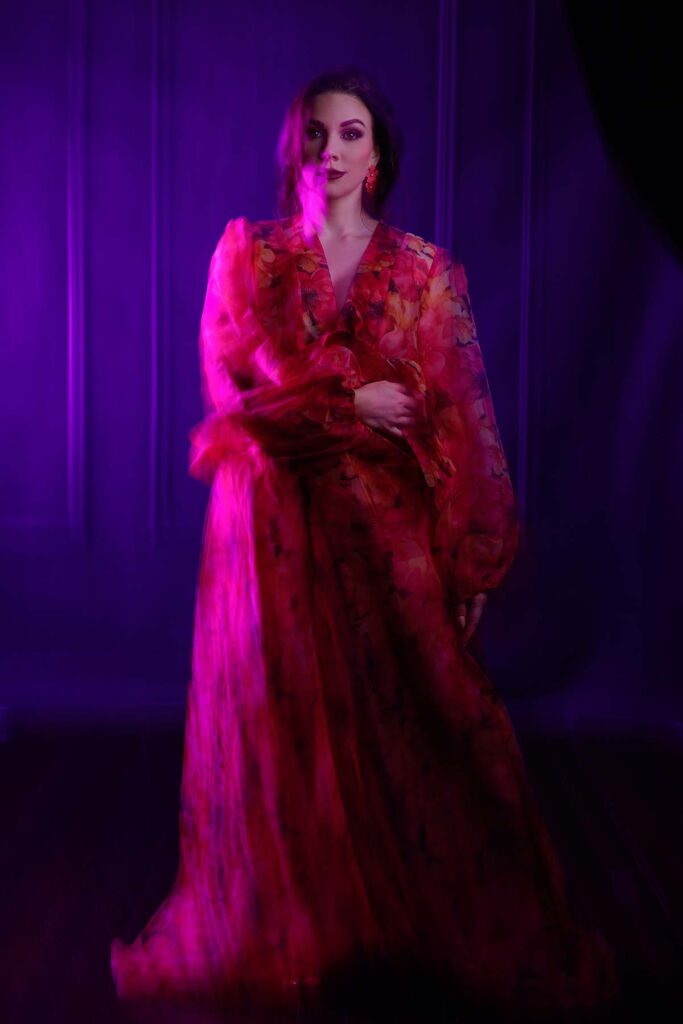
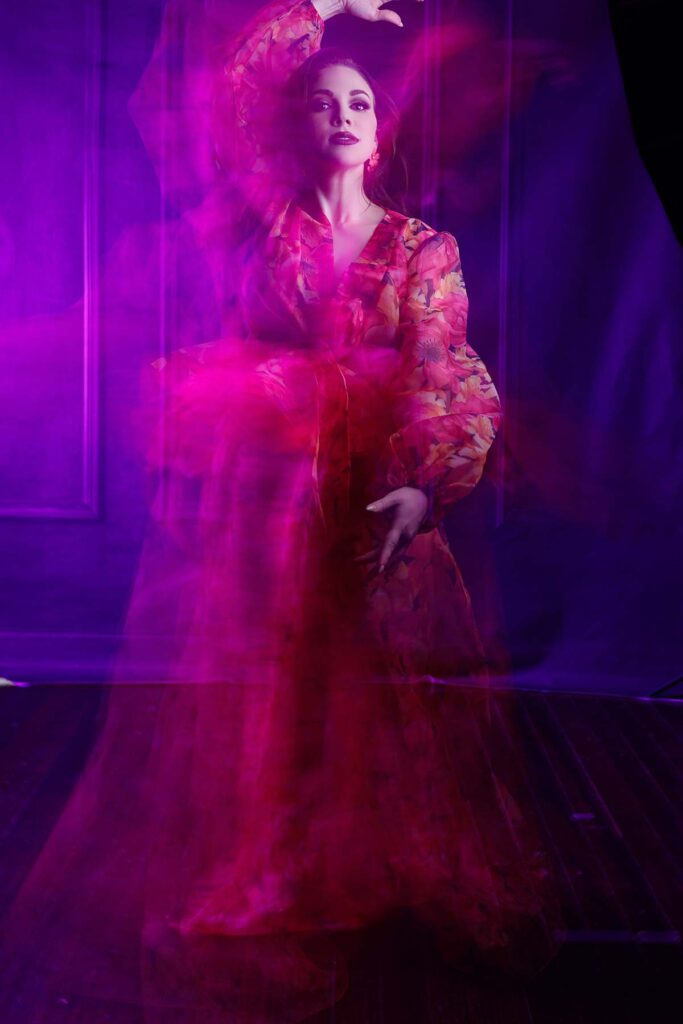
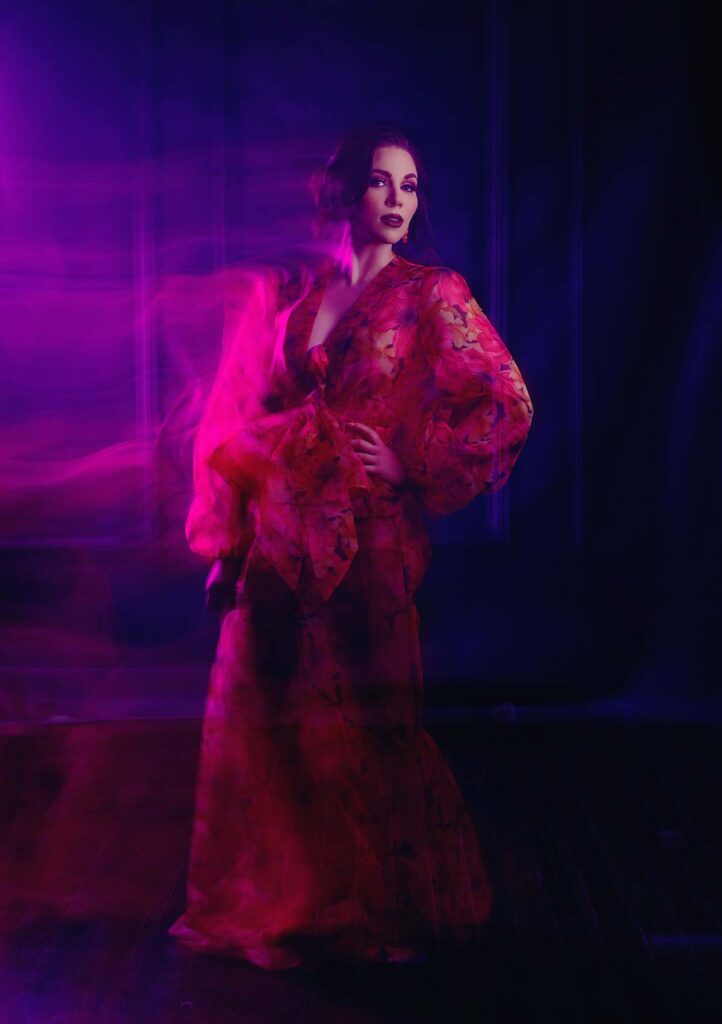
Settings: f/8 @ 2s, ISO 100
Settings: f/8 @ 2s, ISO 100

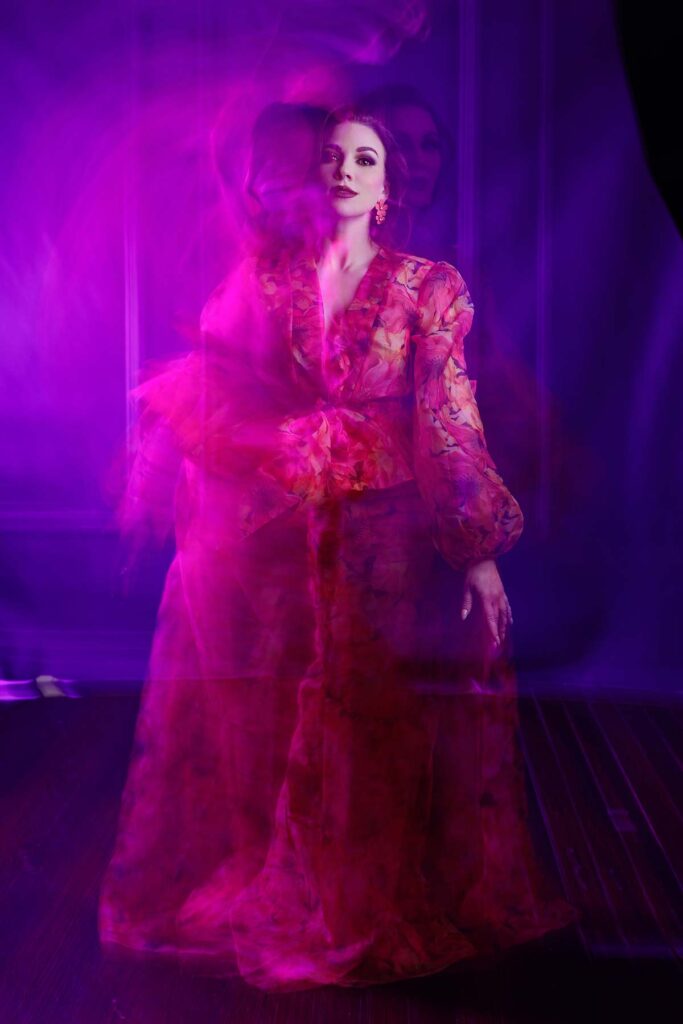
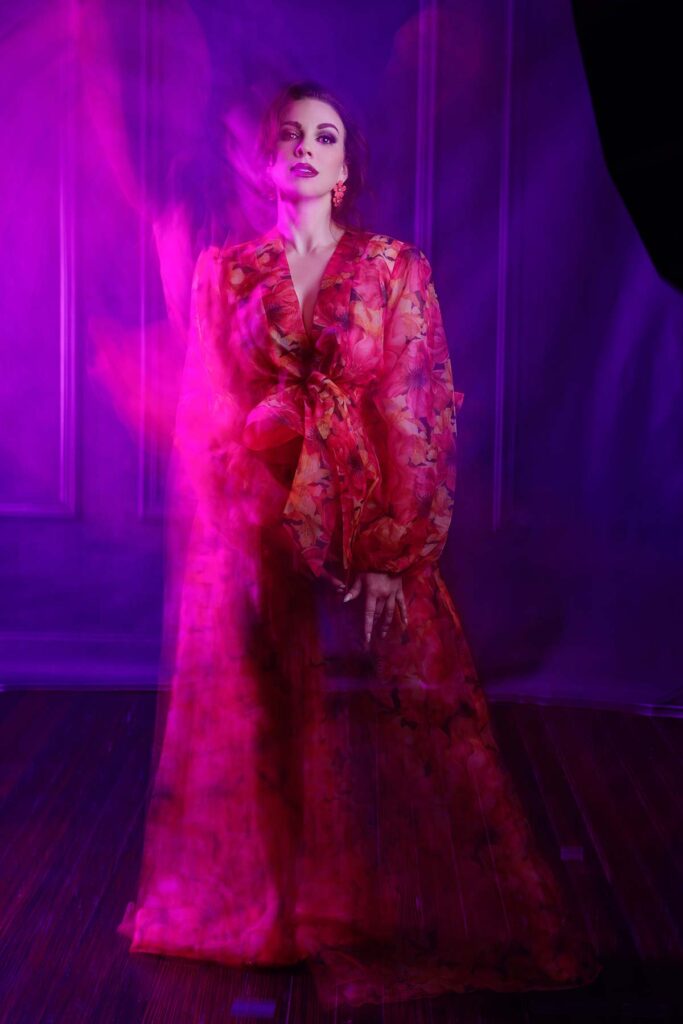
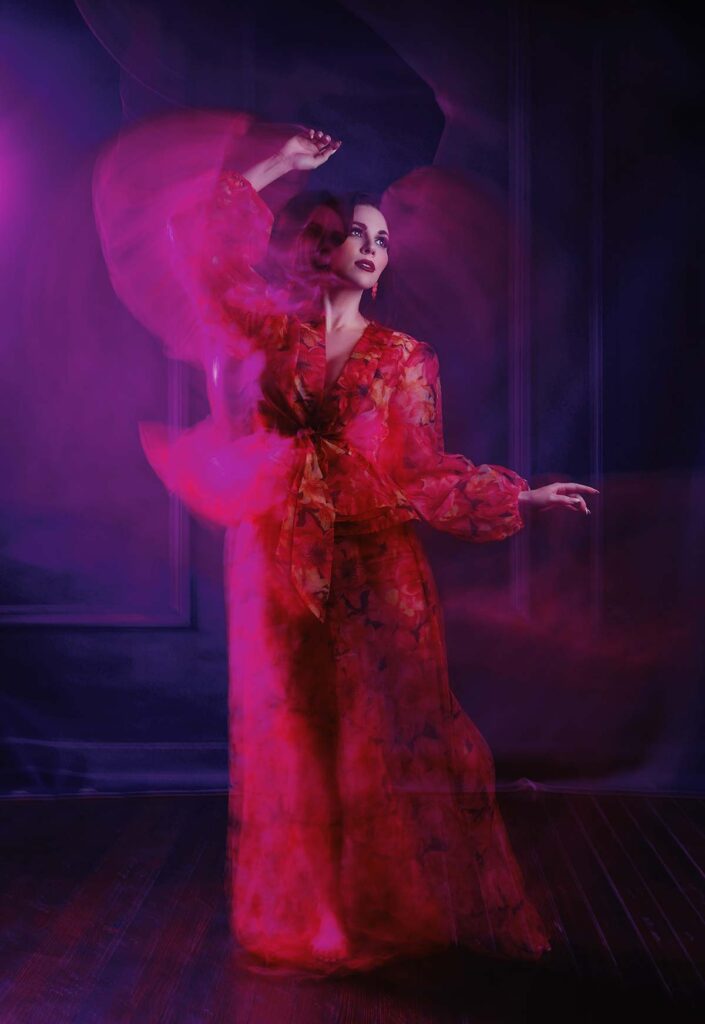
Settings: f/5.6 @ 2s, ISO 100
Settings: f/5.6 @ 2s, ISO 100
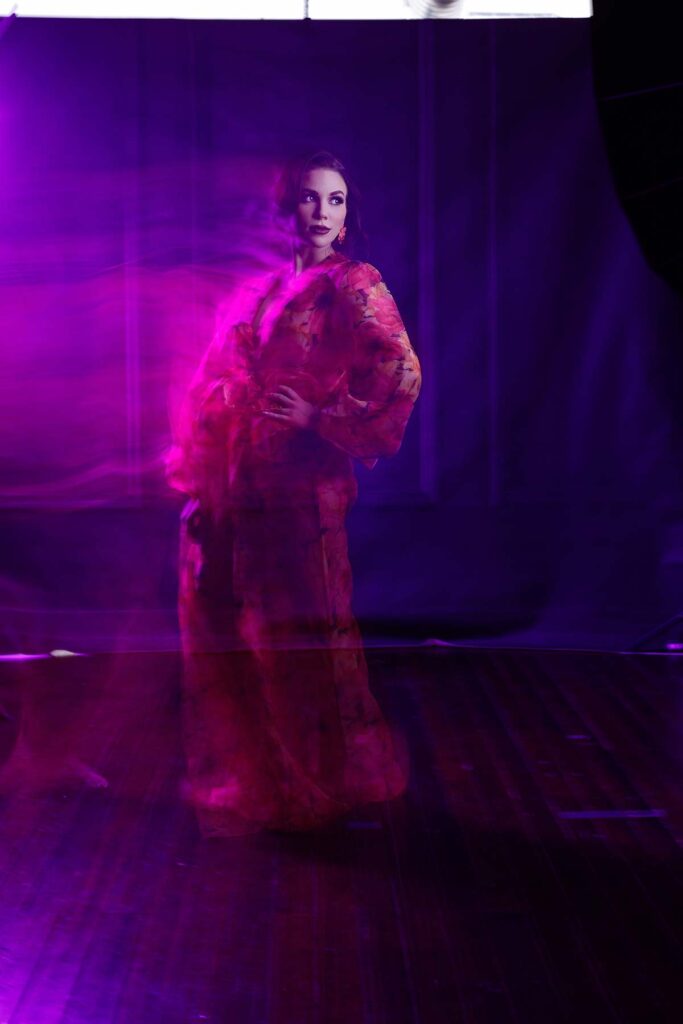
This has been such a lot of fun! I absolutely adore the color palette; it really works. Here, what I’m doing is switching my camera between autofocus and manual, forcing her to get to that spot on her own. So far I’m shooting it at f/5.6; perhaps switching later but so far images look pretty great. All right – here we go.
Settings: f/5.6 @ 2s, ISO 100
Settings: f/5.6 @ 2s, ISO 100
It’s essential when working on portraiture that we show Lauren what they can expect and what is expected of her. That is why you hear us discussing it; portraits like this require collaboration rather than shooting away with micro directions from me; we need to work through what she’s doing together in order for the shot to work well. I want something similar here where she starts off-camera before spinning into frame – or even better if she glides in smoothly – I want her to start out off camera before coming in slowly if that works better.
Settings: f/5.6 @ 2s, ISO 100
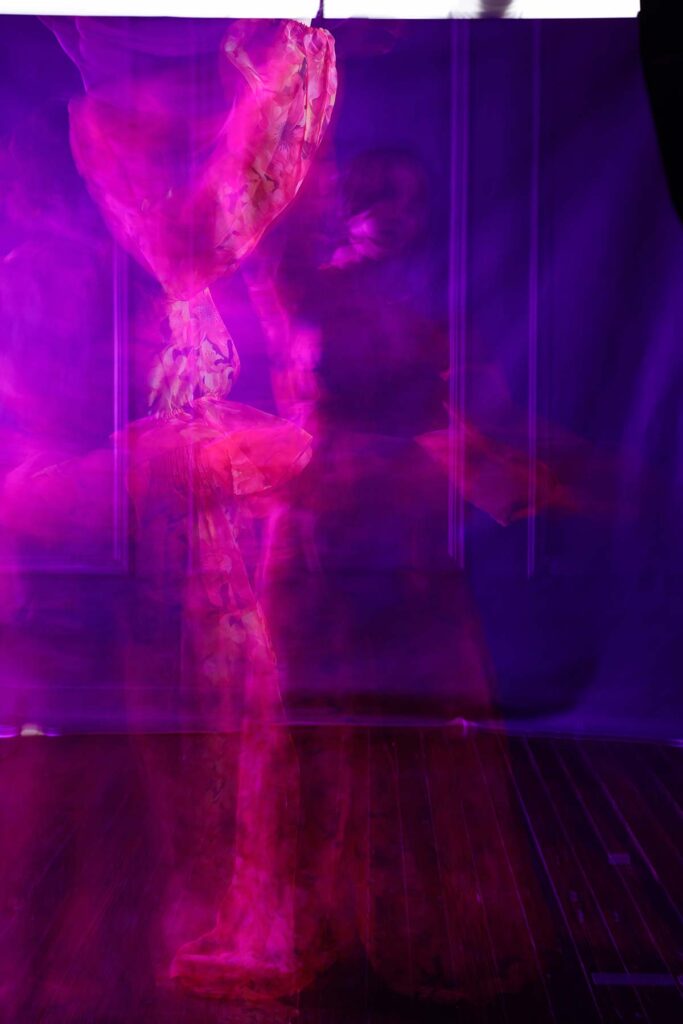
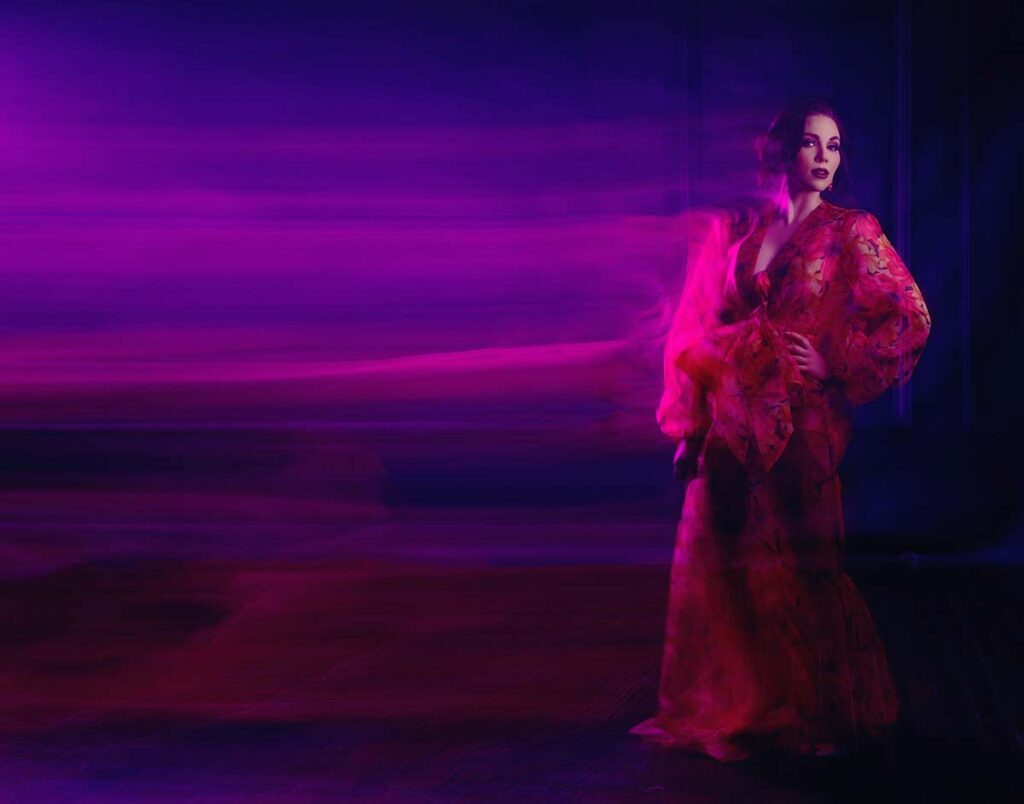
Remember, in the final frame where you get lit, everything before is just an unlit trail. So if we approach from directly in, all that will be obscured by the final frame. So we need to move at angles. Now I want the background darker so this works well too – that looks fantastic.
Settings: f/5.6 @ 2s, ISO 100
Settings: f/5.6 @ 2s, ISO 100

Settings: f/5.6 @ 2s, ISO 100

Settings: f/5.6 @ 2s, ISO 100
Settings: f/5.6 @ 2s, ISO 100
Now is your turn: please let me know which shot was your favorite, which one of Lauren’s athletic movements you found most captivating, or which products in the comments were your favorites – these experiments in lighting can be lots of fun! And if you enjoyed this video, subscribe to our channel, click “Bell,” give it a little ding, and stay tuned – see you next time!